Hi fellow bakers and viewers! I havn’t really gotten a proper chance to write the written version of this video to the recipe of my well known and delicious apple bread pudding.
I am currently leaving in about a hour on a plane to Turkey for I am taking a well deserved vacation to the best place in the world: the Middle East.
I will make a post and include some pics of my trip when I get back and I really encourage all to click and play video above to watch me guide through the recipe of how to make homemade cinnamon apple bread recipe.
Thanks so much and please watch recipe vid I made above. Usually I have written versions of videos in case most of you like to read but time is not on my side today.
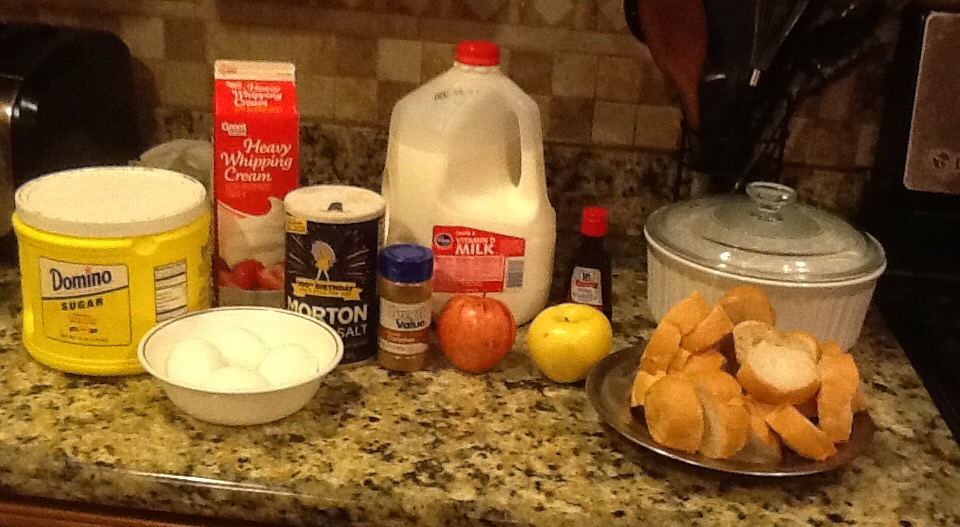
Here are some pics from the recipe:
To shortly sum the recipe up referring to the video and numerous pictures I took (the ones that are above)
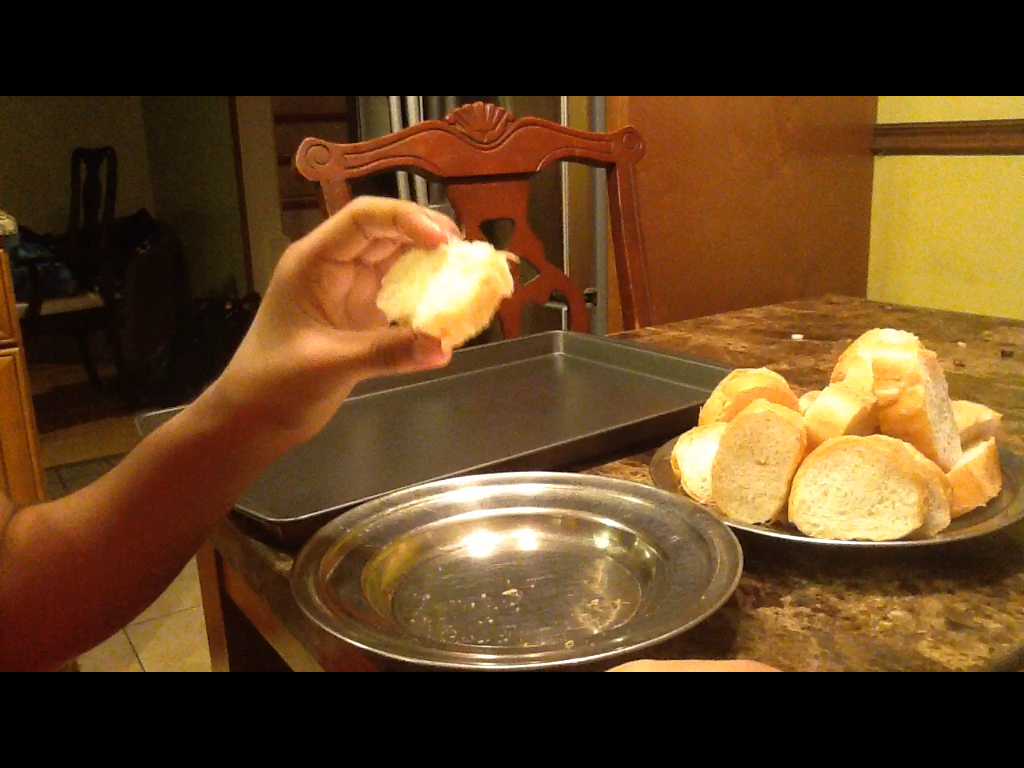
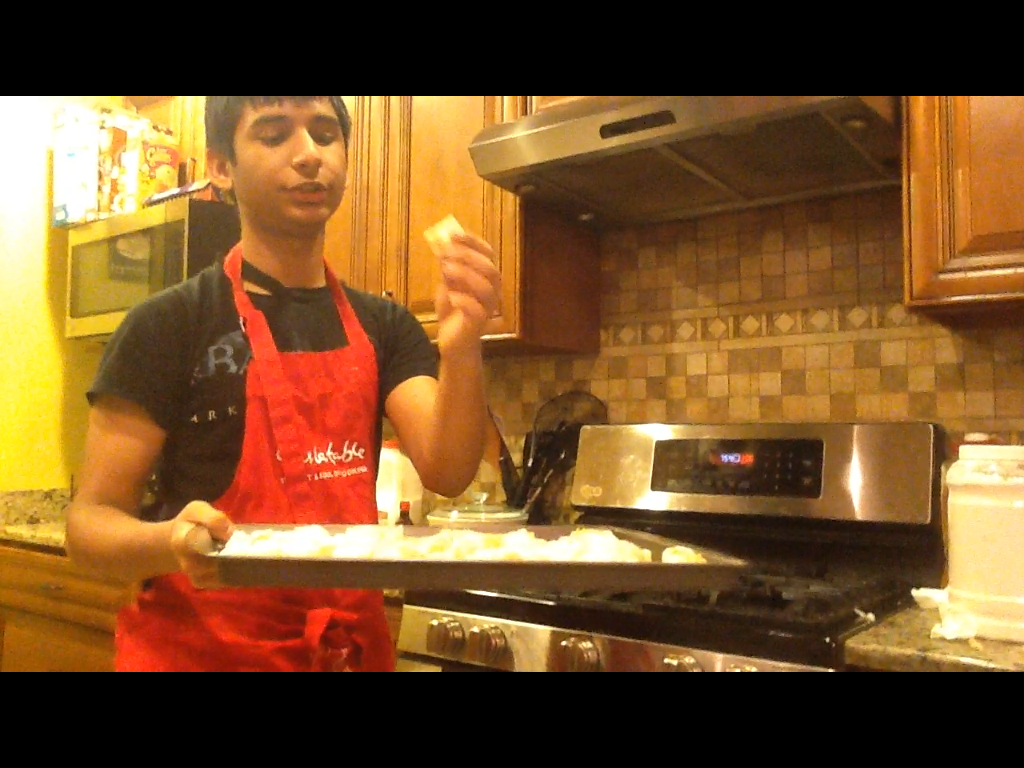
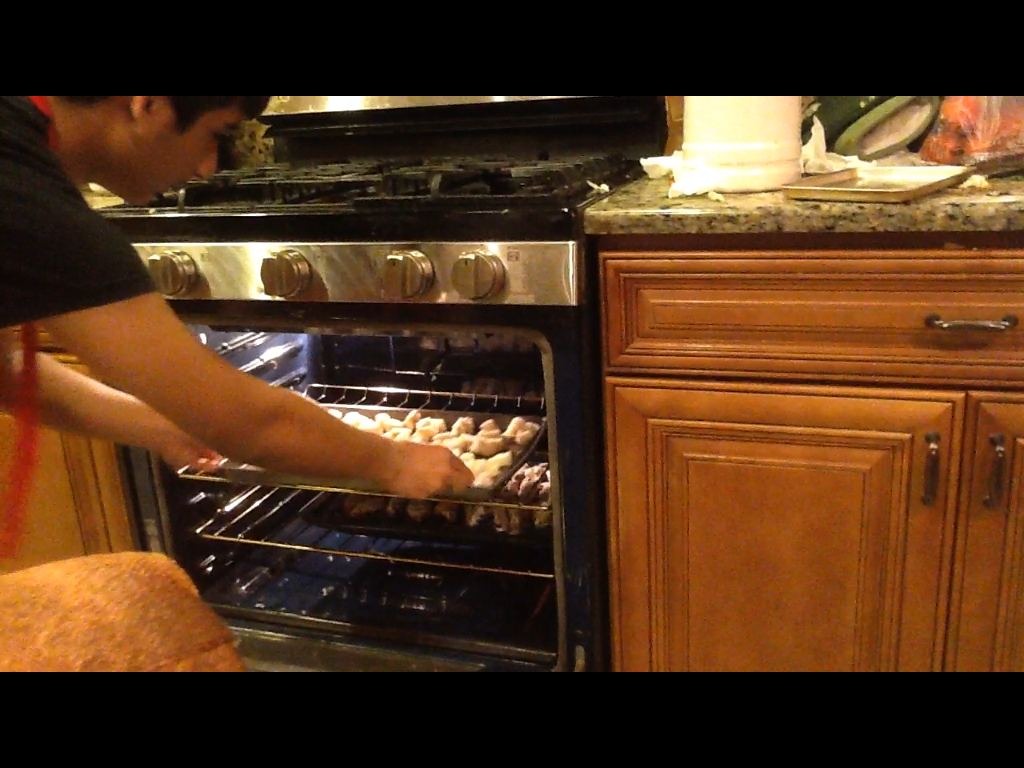
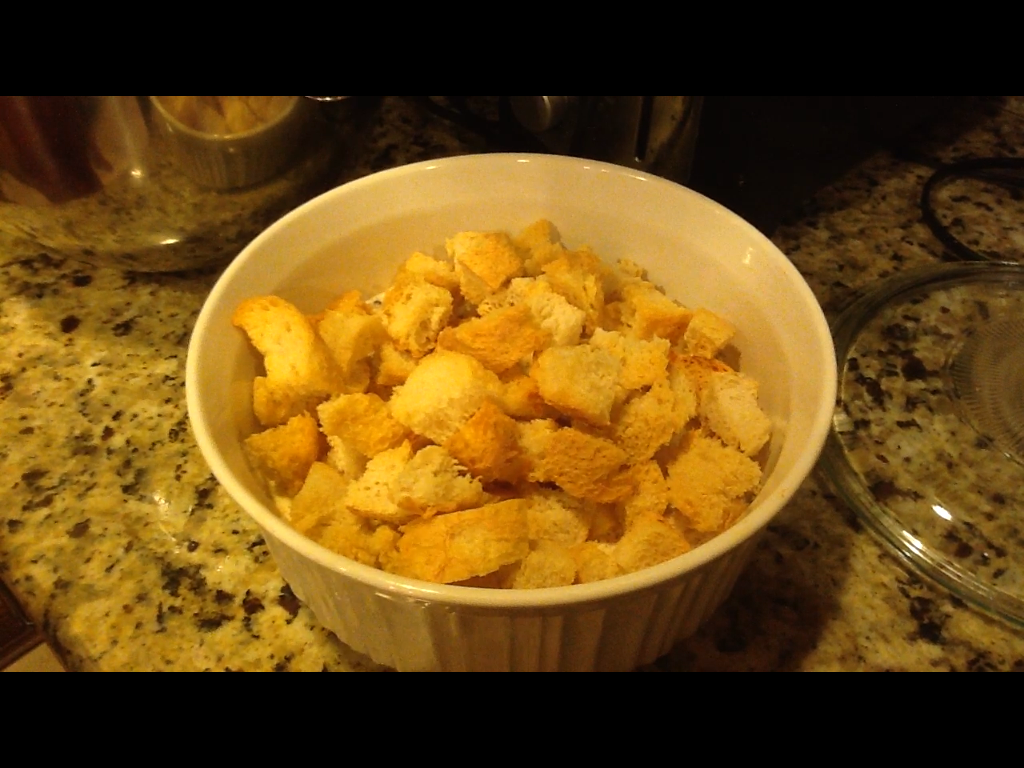
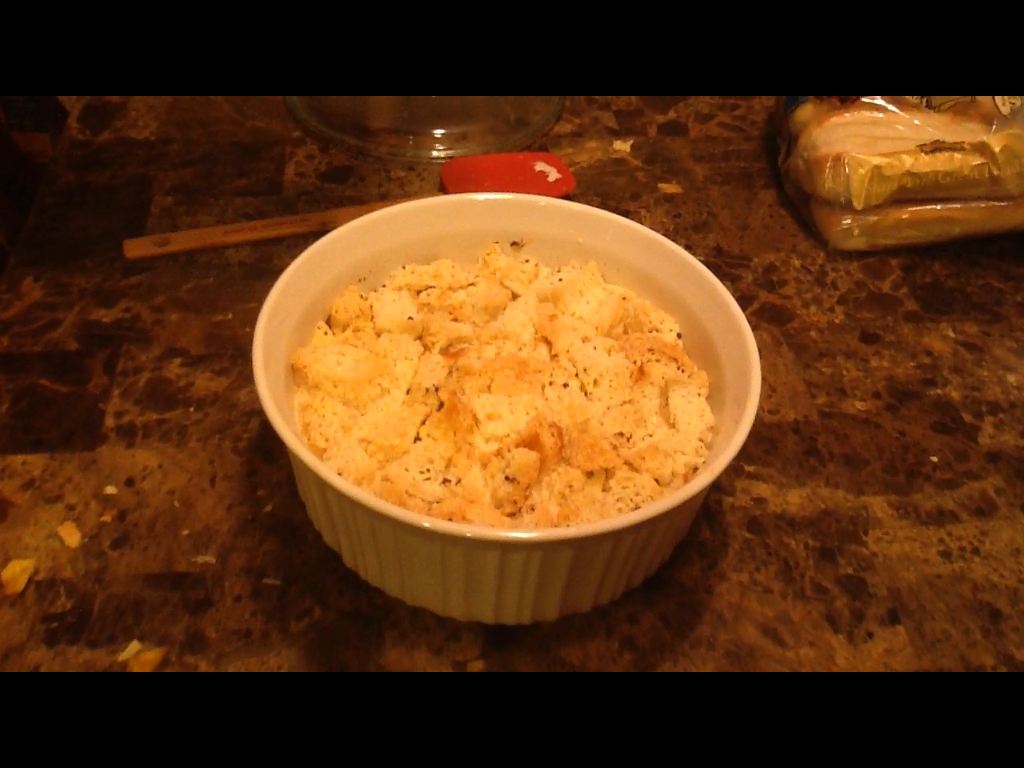
1.Peel the brown crust out of half a loaf of white bread and cut the bread into small bite size cubes and bake these cubes in the oven for 10 minutes to toast. Bake in a cookie tray
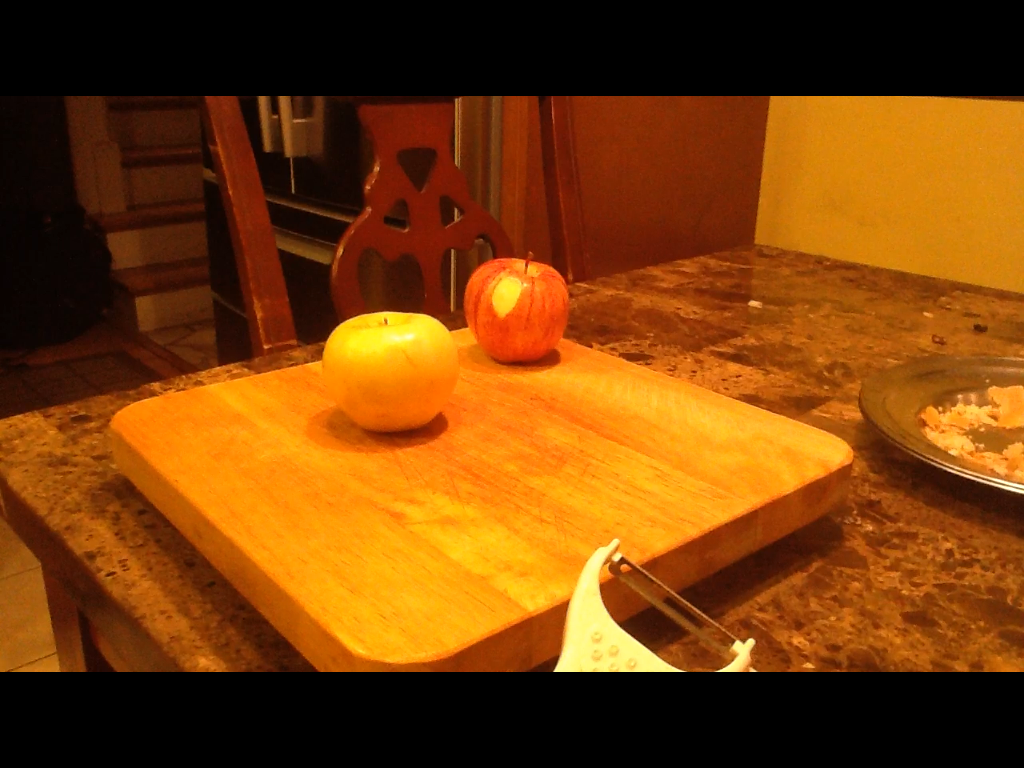
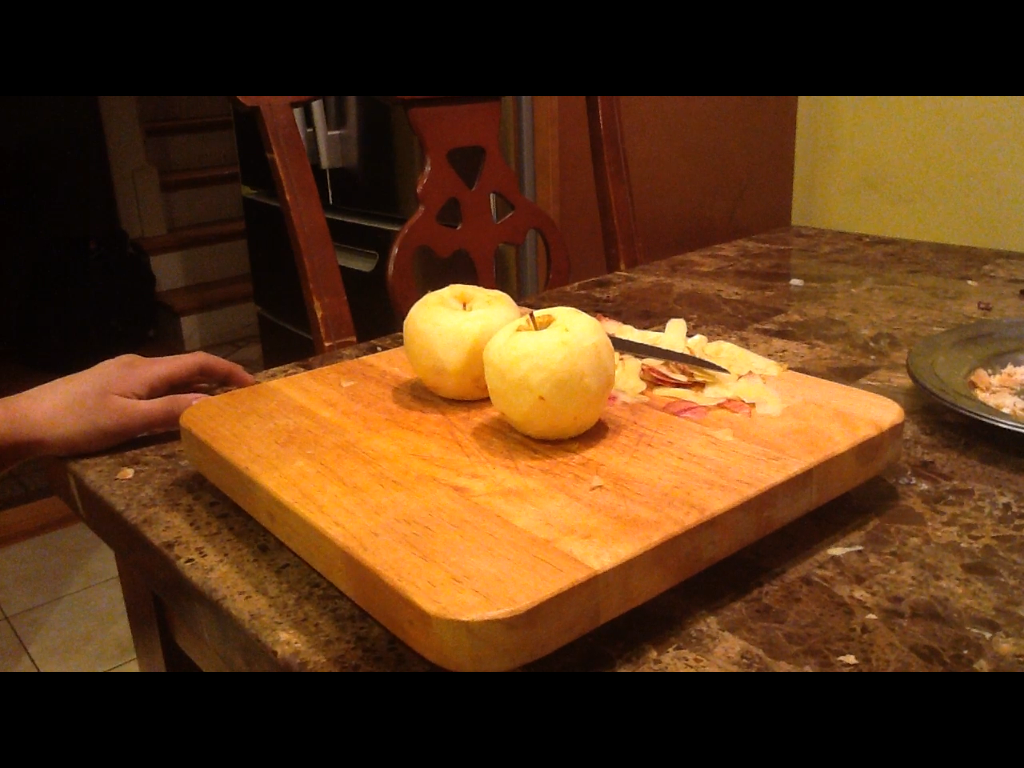
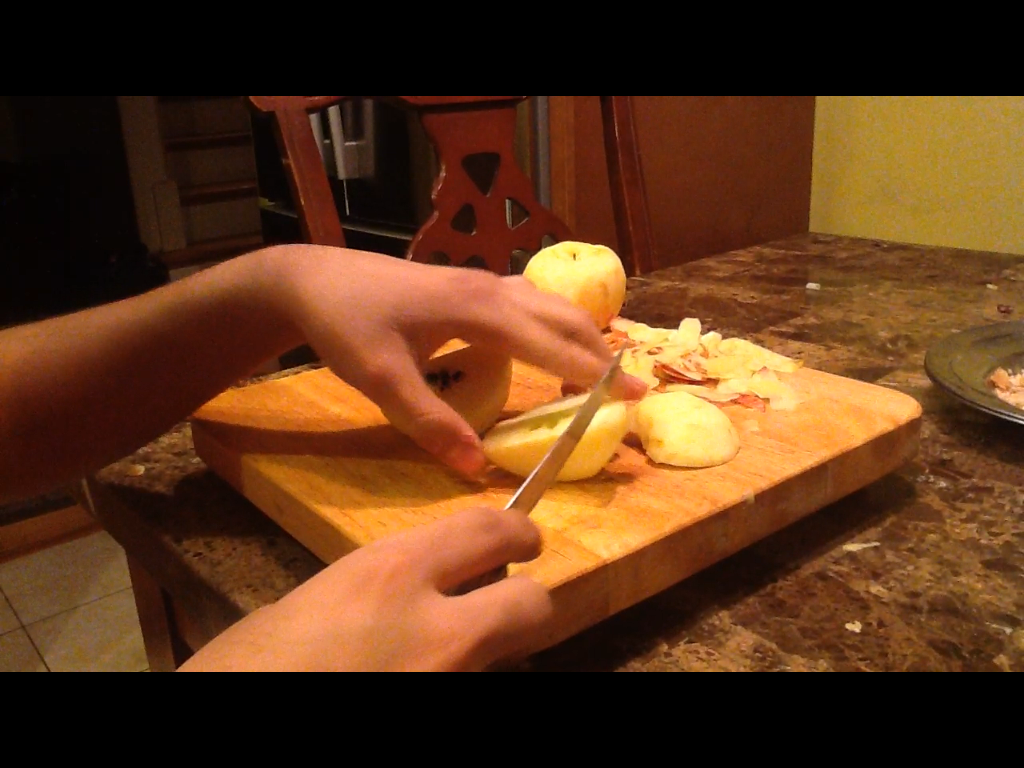
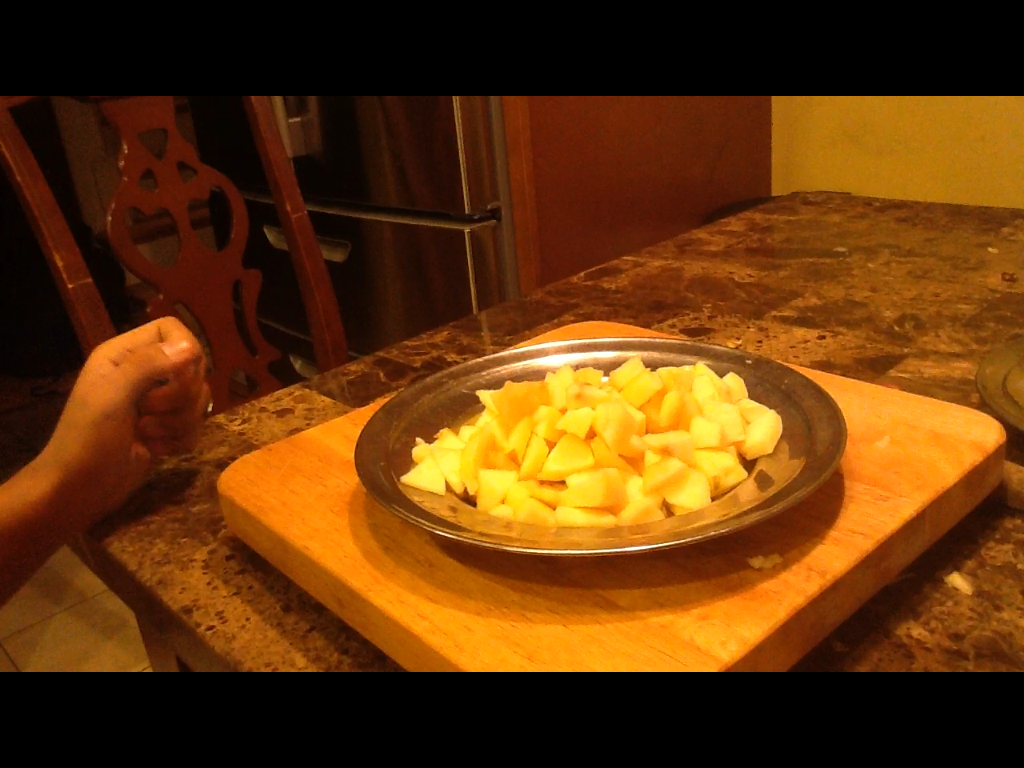
2. Peel 2 apples (preferably golden) and cut the peeled apples into cubes and set aside. At this point take golden brown toasted bread cubes out of oven
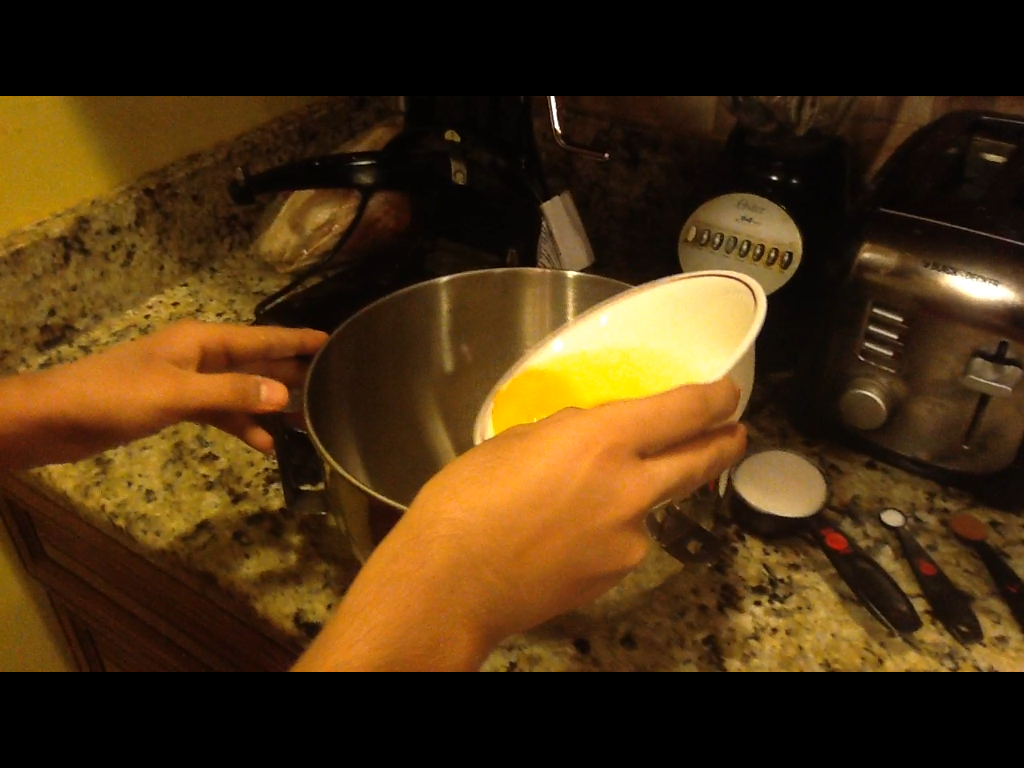
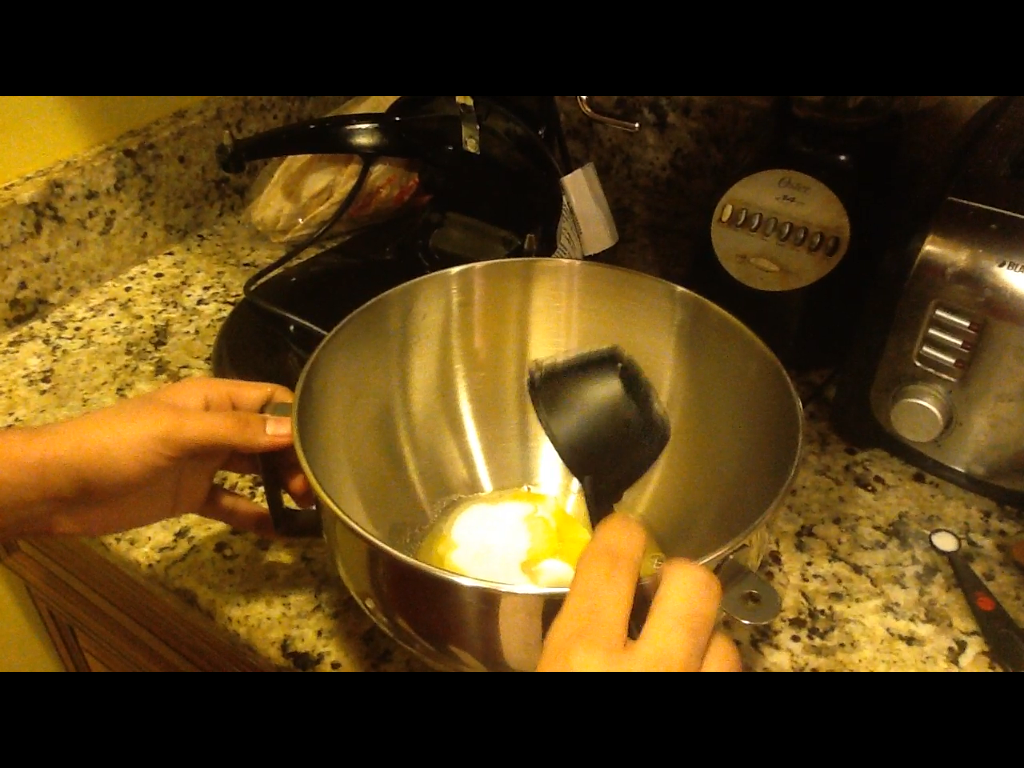
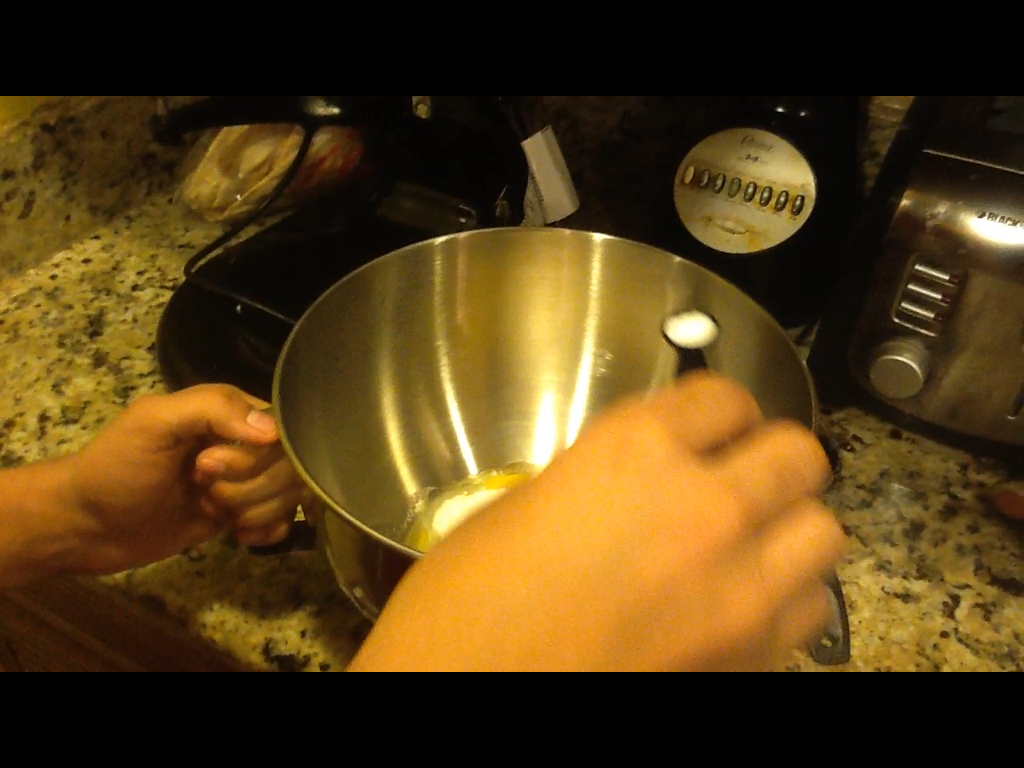
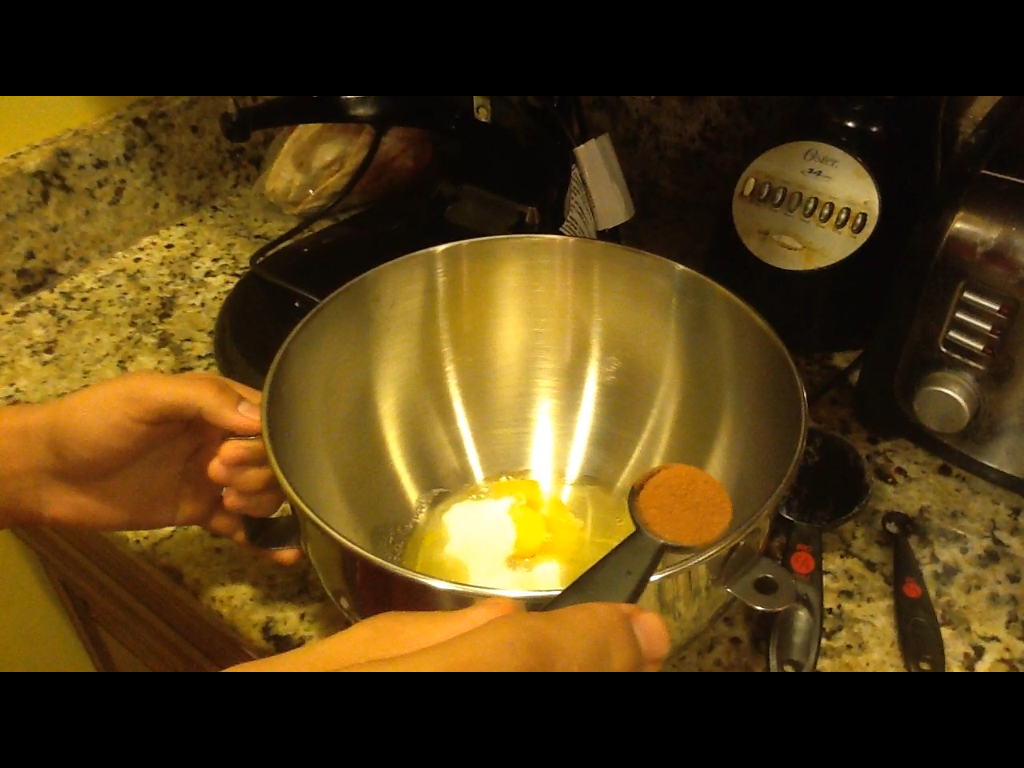
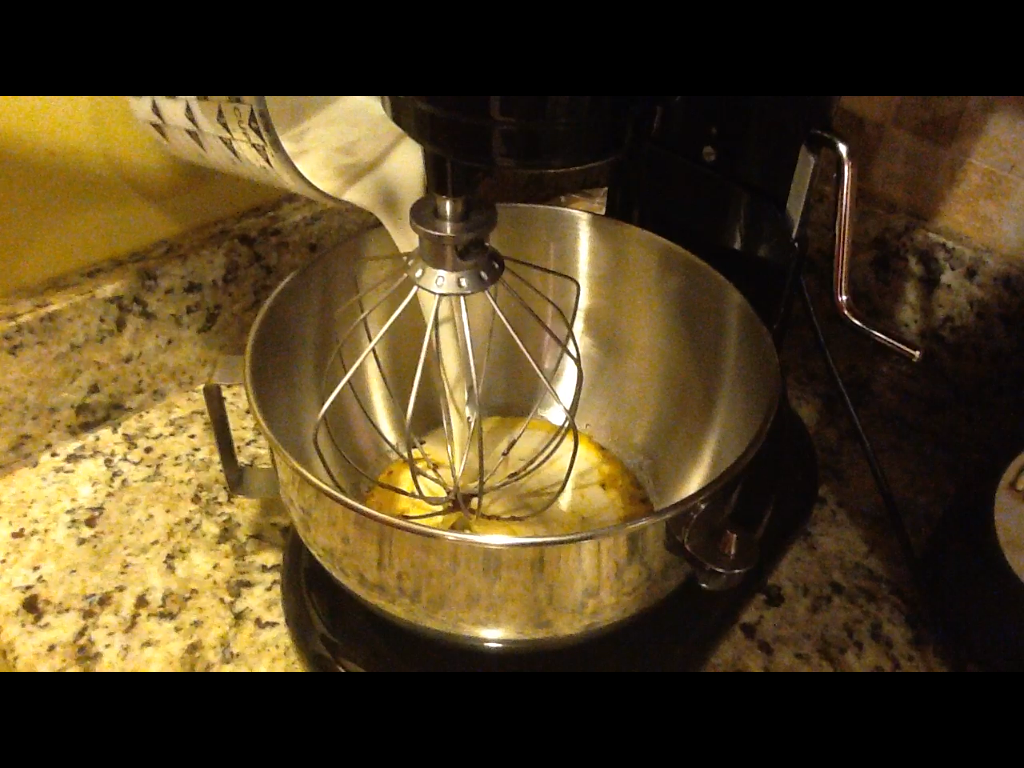
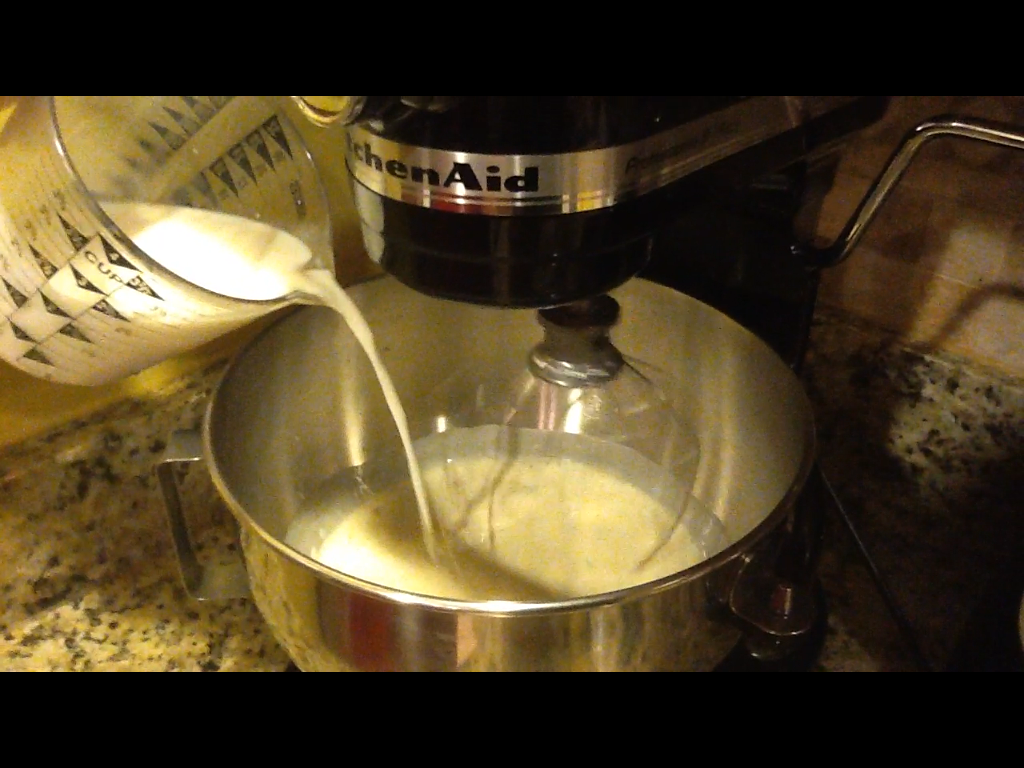
3. Using a mixer as I did above or by hand, whip 2 eggs and 2 egg whites in a bowl with 1/2 teaspoon cinnamon, 1/3 cup sugar, and 1/4 teaspoon salt.
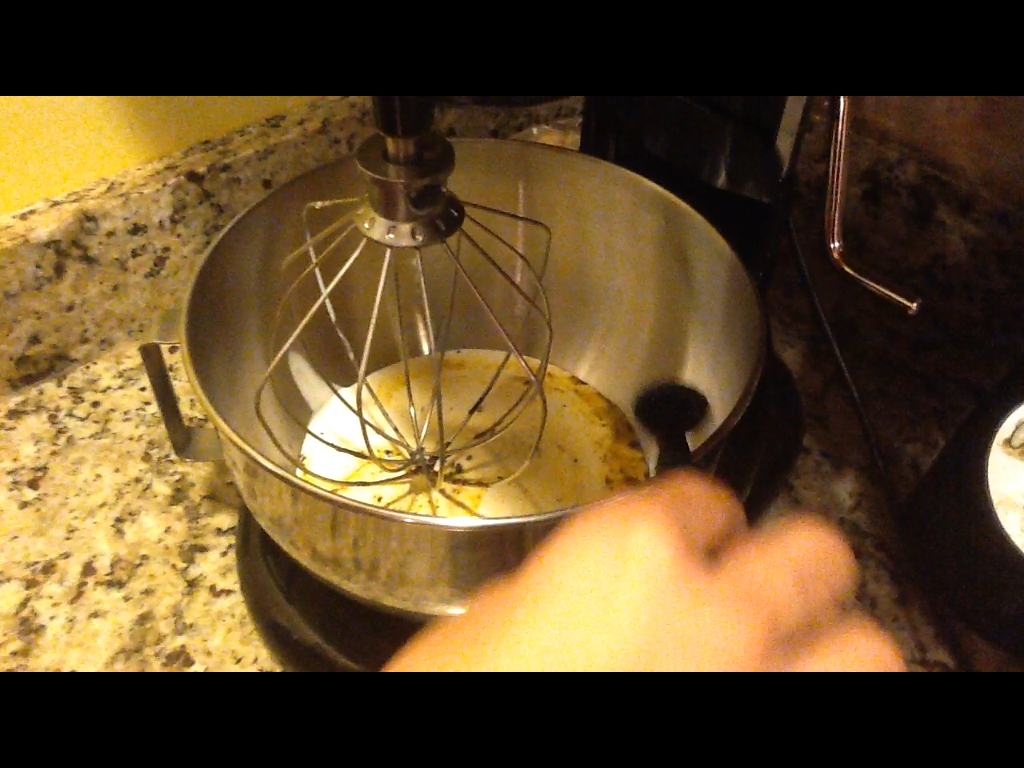
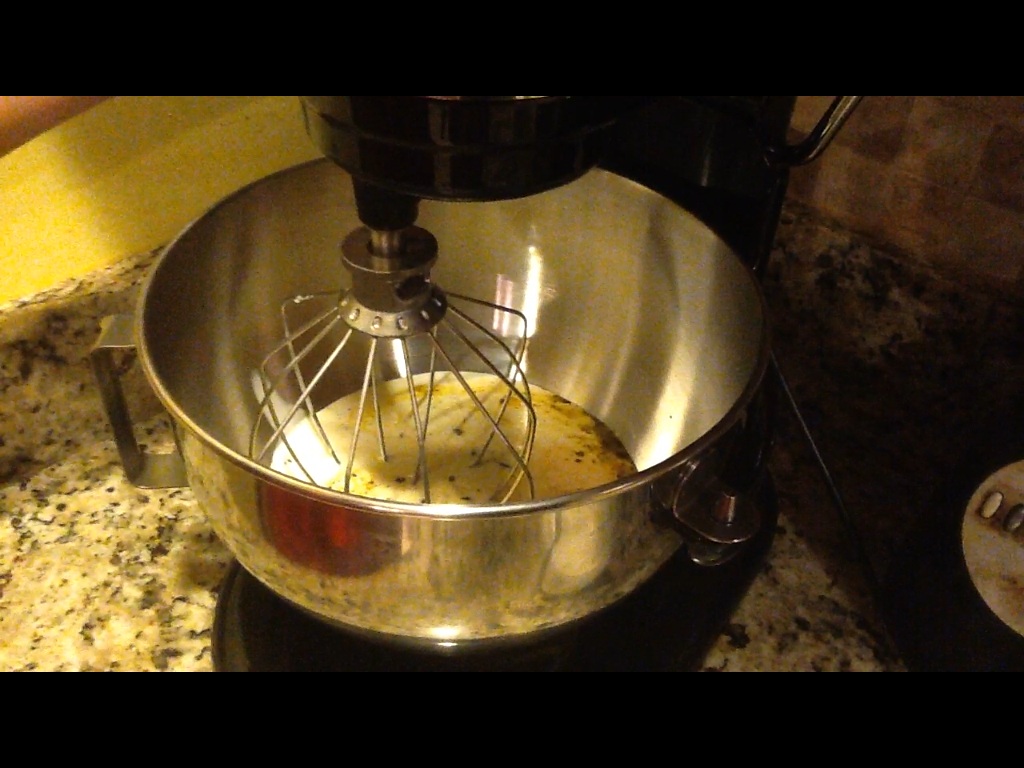
4. After about three minutes , don’t overwhip eggs, add in 1 3/4 cup heavy whipping cream and 1/2 teaspoon of vanilla extract into the mixtures and beat at about speed two
5. While mixing this custard mixtures, begin to gradually put/add 1 3/4 cup of regular milk into the bowl and mix for about two more minutes; that is the custard.
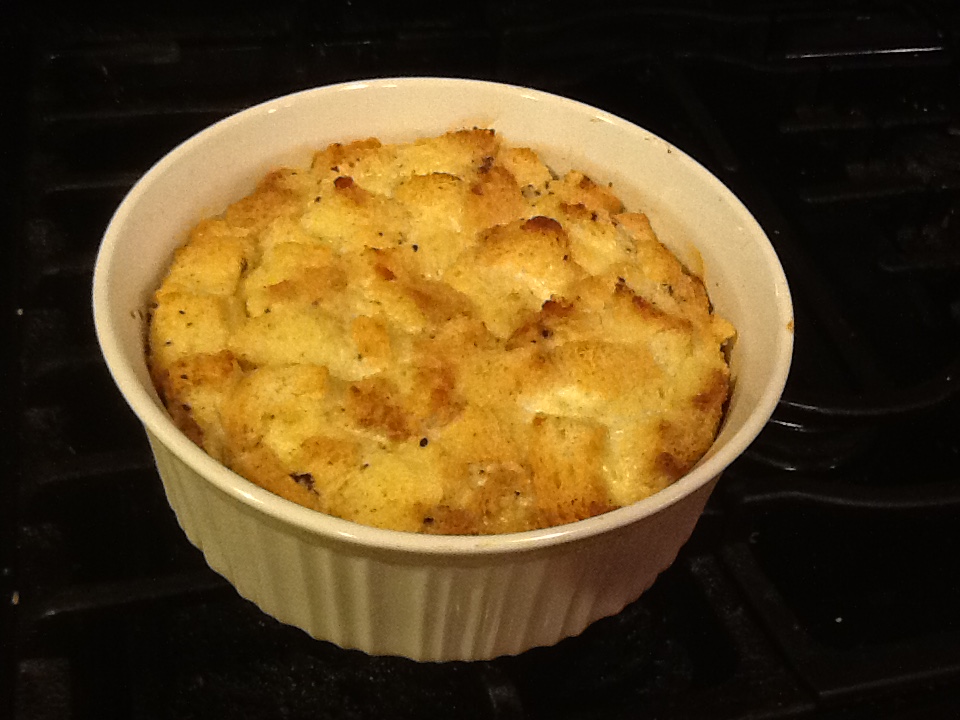
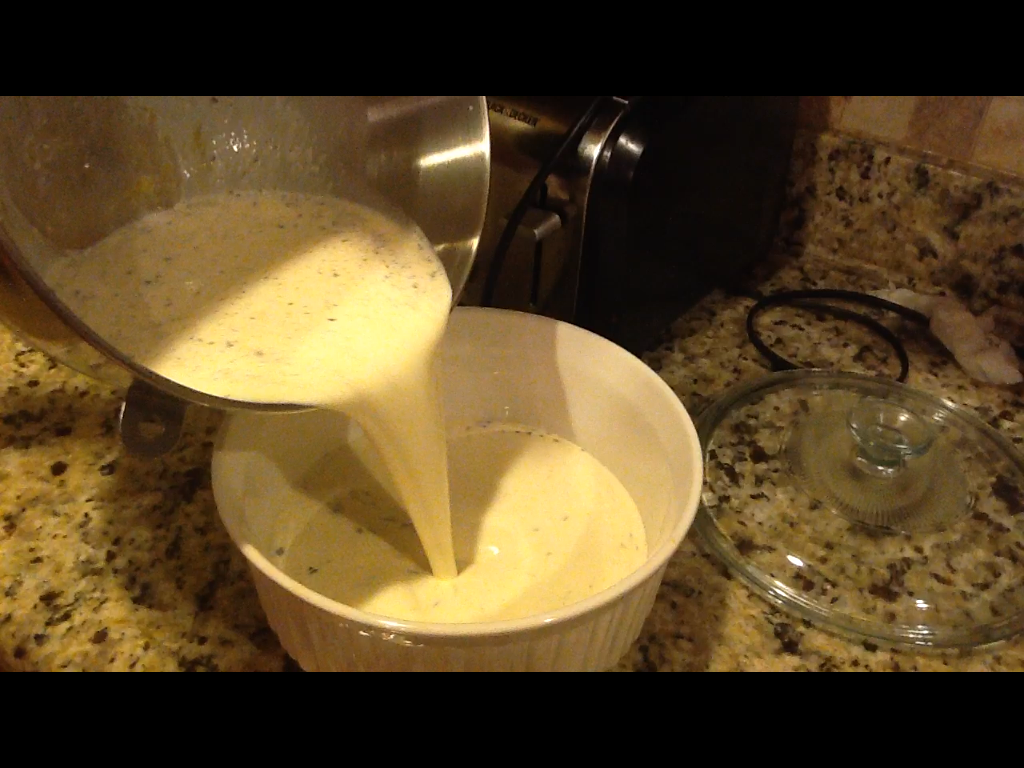
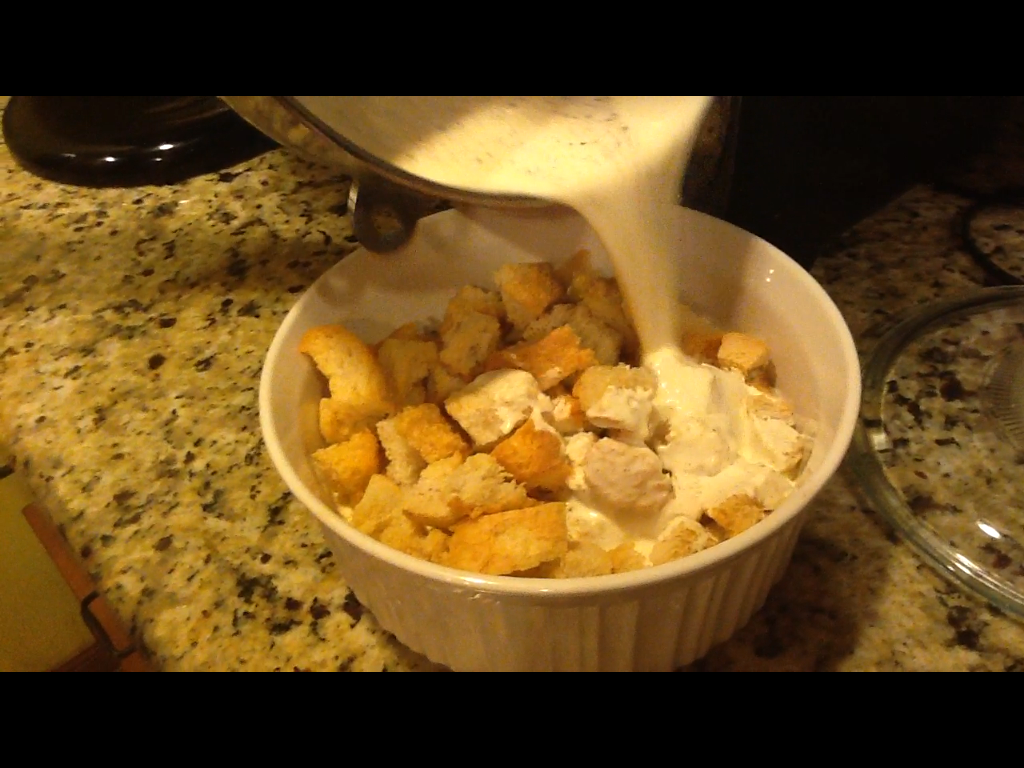
6. In a wide glass baking dish, our half of the custard from the bowl into the dish and add in all the sliced apples and toasted bread pieces
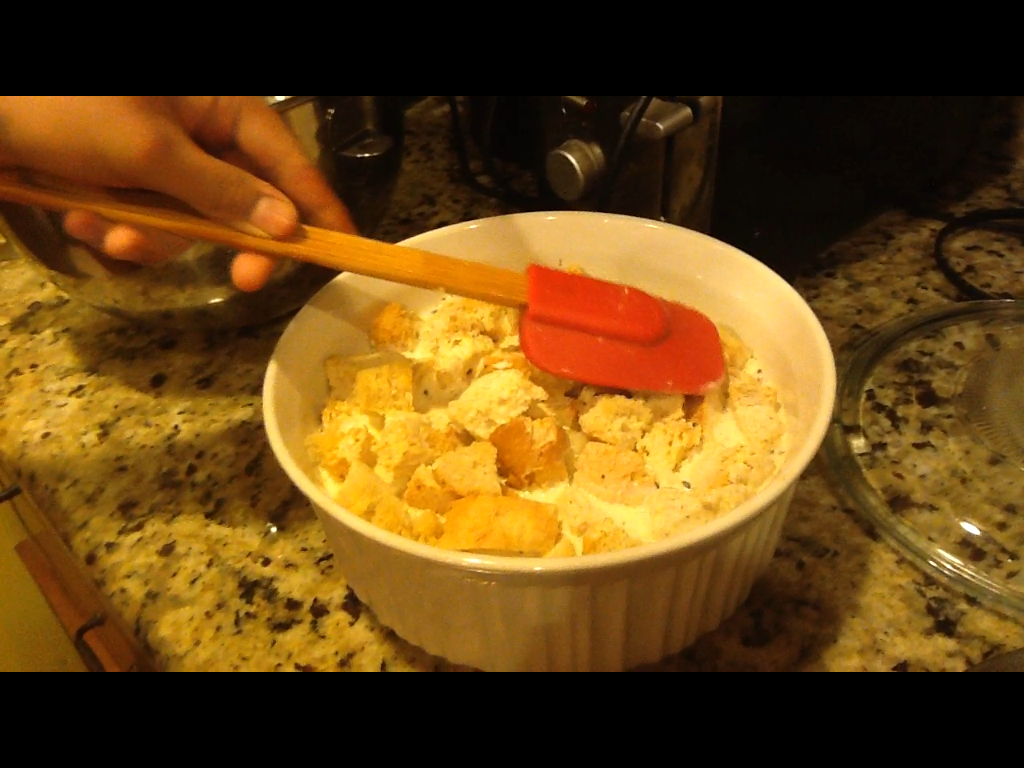
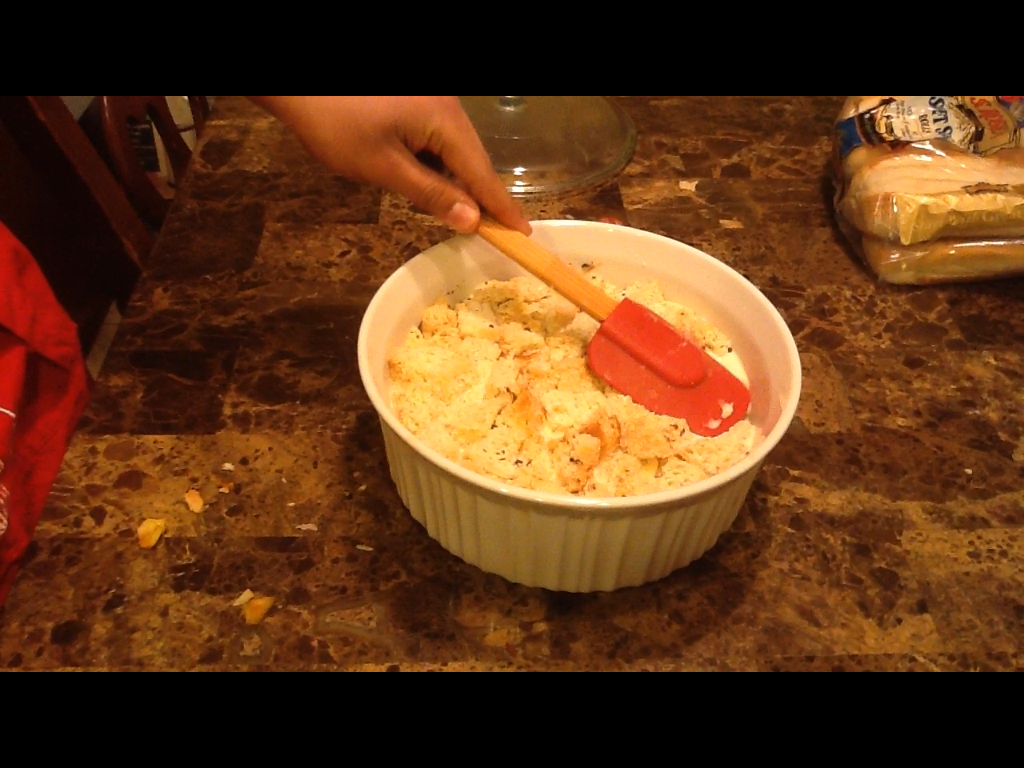
7. Pour the other half of the custard on top of the bread/apple in the dish and using a rubber spatula, press down all the bread and apples so they can sink into the custard, and yes there is suppose to be a lot of the custard so don’t worry if there is a lot.
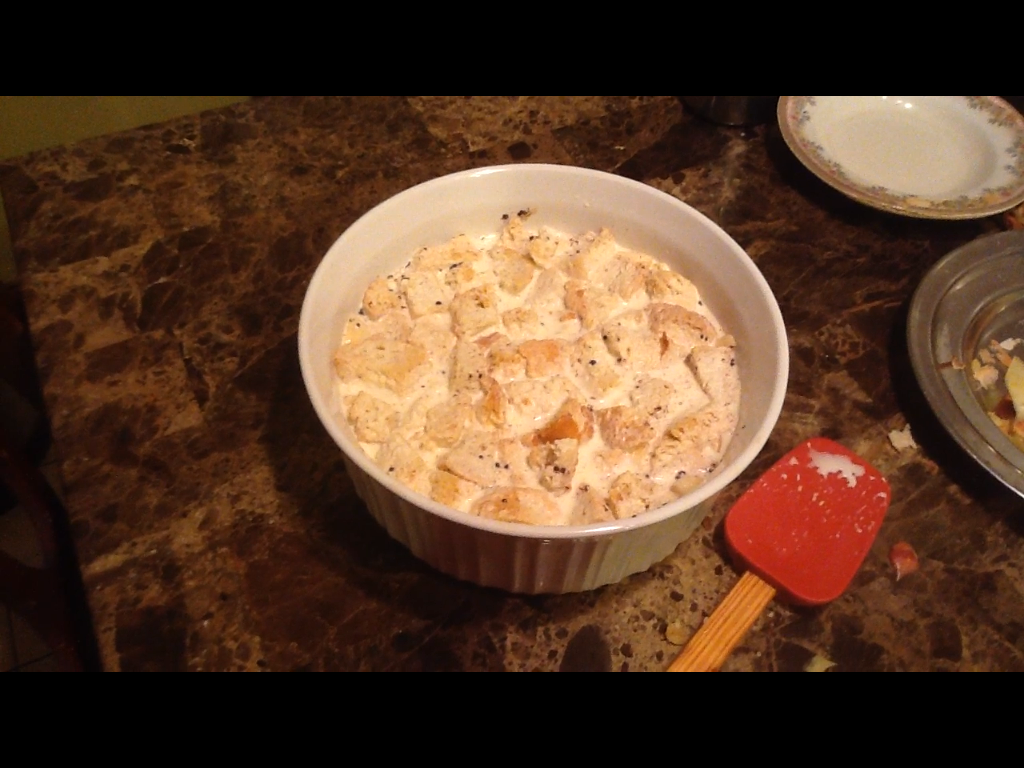
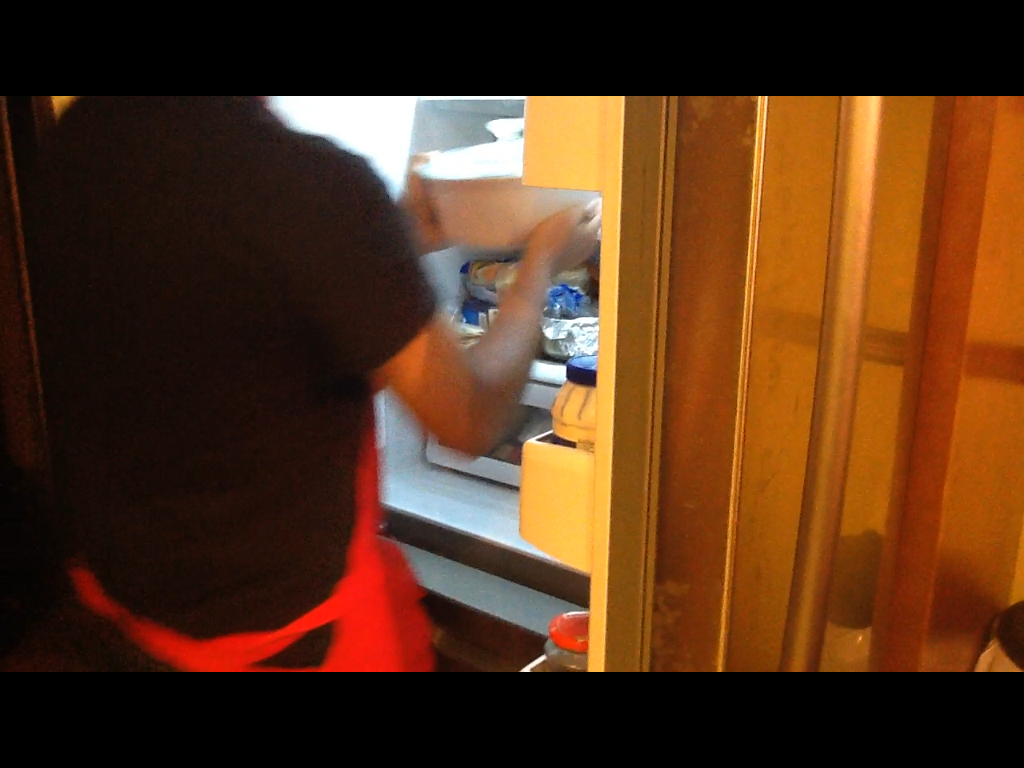
8. Cover glass baking dish with lid and place in fridge to let sit for 29 minutes to further let apples and bread sink into the custard
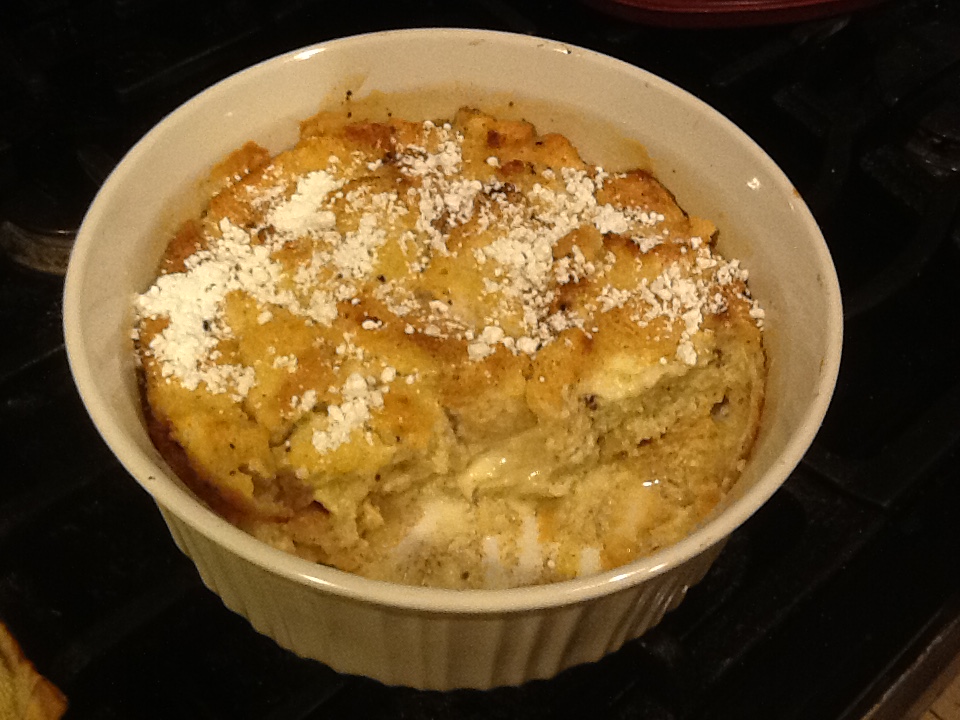
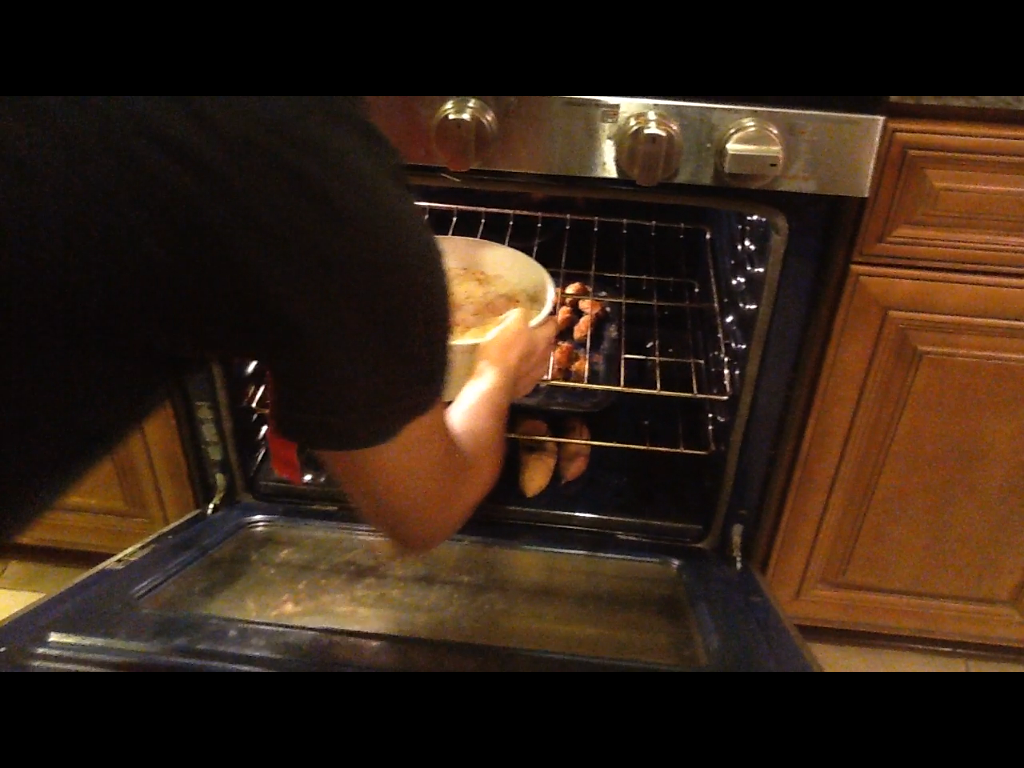
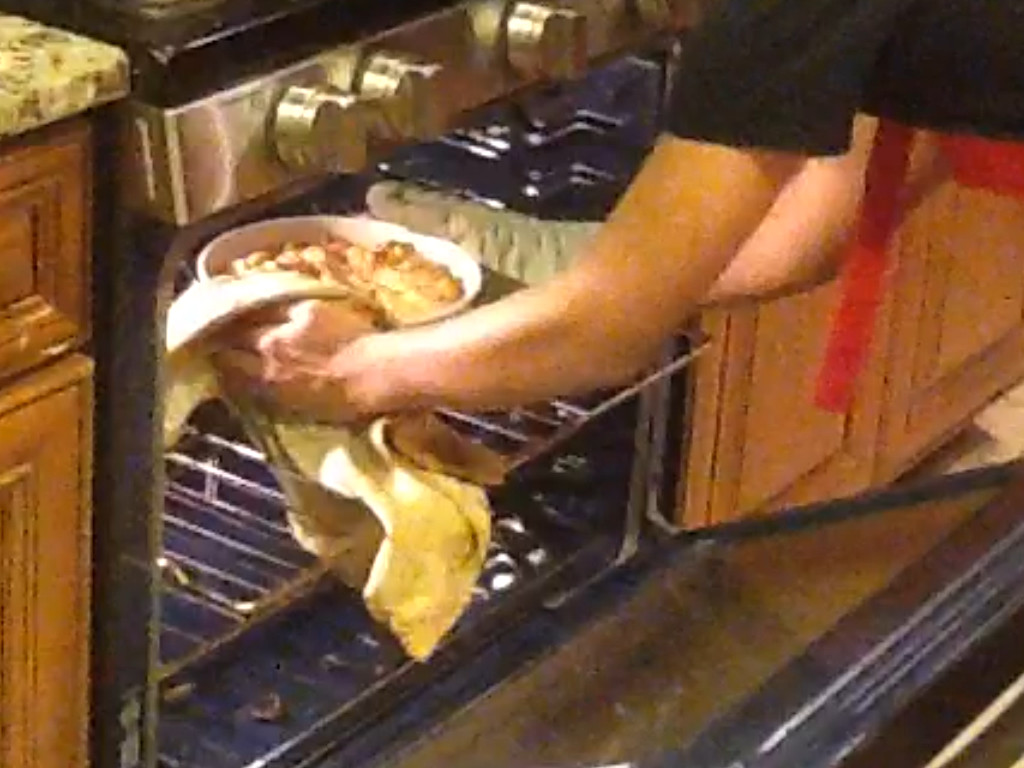
9. After 20 minutes, remove dish with bread pudding and place in a 350 degree oven for 50 minutes. After 50 minutes remove dish, let cool and serve. Optionally sprinkle powdered sugar in top for further taste.
For better understanding please watch video above the post or when following steps, all those pictures above the recipe instructions are in chronological order from what to do first to what to do last.
I will next be posting in mid January when I am back from my vacation, thanks to all my readers and I hope you enjoy this wonderful recipe that never gets old.
Hey guys! I finally decided to go ahead and make a official video post. If you don’t feel like reading go ahead and click the video above and watch that instead of reading the post or vice versa. Thanks and happy holidays!
Written version:
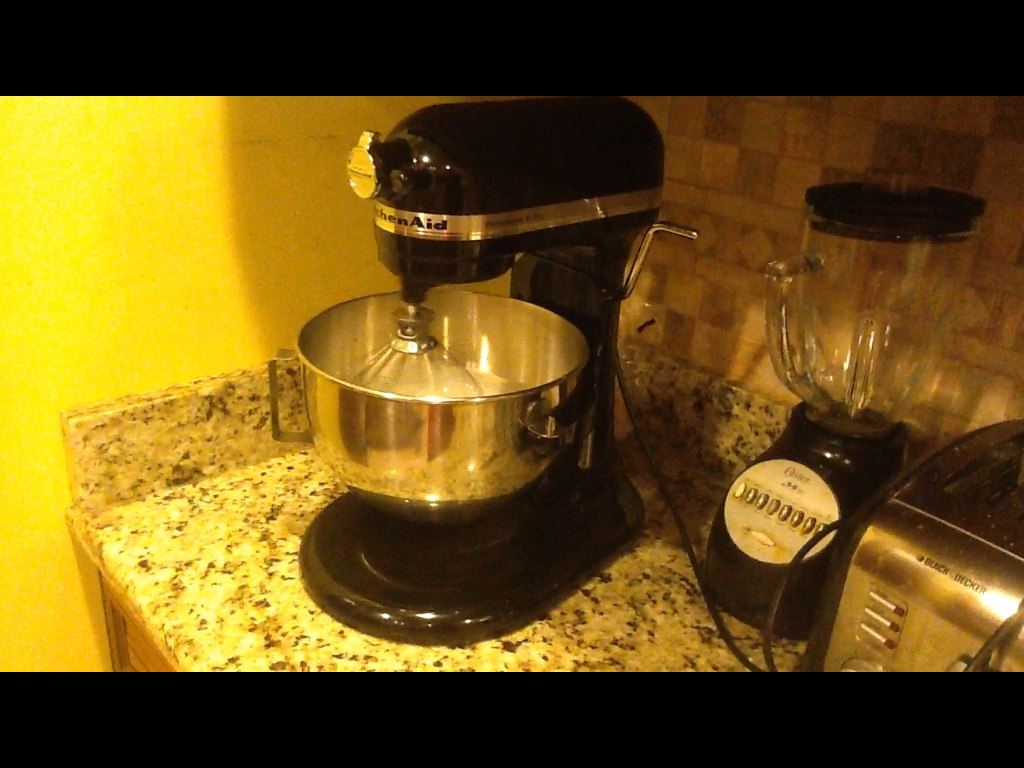
my new kitchen-aid mixer: pro 5 plus
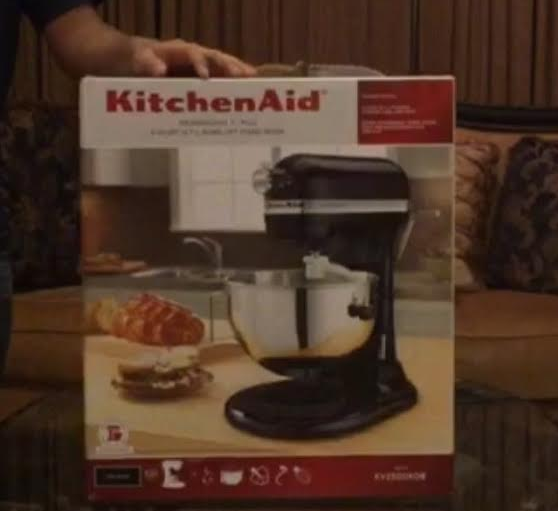
So, I originally was suppose to receive a kitchenaid professional 600 that I payed an unbelievable $60 for when the original machine cost $450. Some things are just too good to be true, it had been past two months since I ordered the 600 and I figured out the mixer was coming from china so no wonder such a long while. On top of that my seller refused to package me the item so I got a refund and bought this beauty (kitchen-aid professional 5 plus) for $197 on black Fridays at Sears.
Coming back to topic, I just got this stand mixer from mail two days ago and I was so excited to open it! I mean just look at that picture up there, its so tempting! So that’s how the box of the mixer looked and afterwards I removed it from the box and the mixer was somewhat sealed with styro foam.
The professional 5 plus came with the machine, a 5 quart bowl, flat beater, wire whisk, and a spiral dough hook.
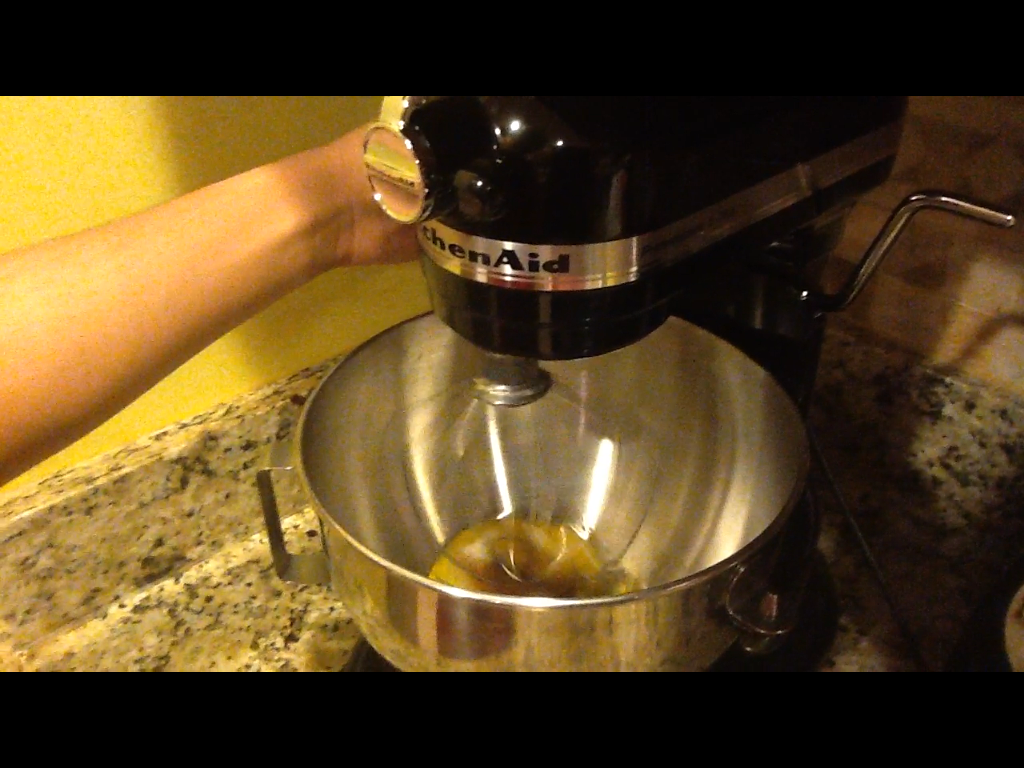
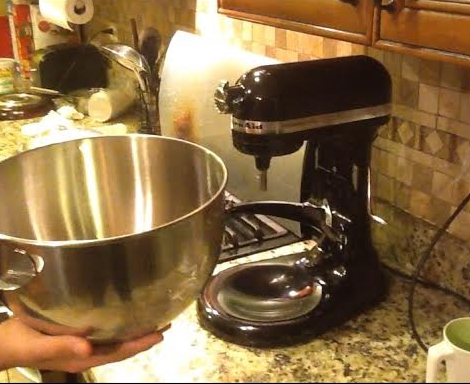
Lets move things into the kitchen, the machine was 520 watts by the way so I figured if a machine is going to take that much power out of the walls it has to be worth it. Some of the key features of the mixer was that it was a bowl lift model, not tilt head which I usually use, so I had to rotate the silver lever in a loop to raise the bowl up into place and closer to the attachment so everything can be properly mixed.
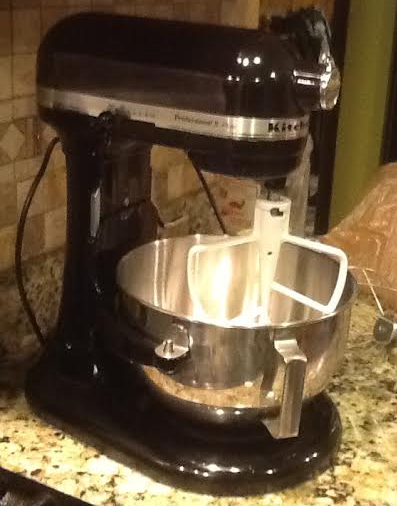
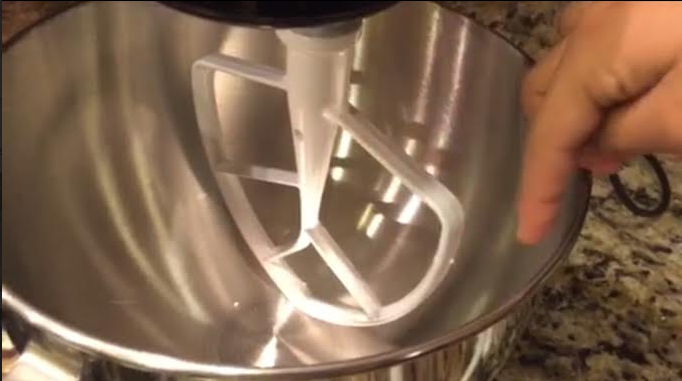
As you can see above, the attachments were huge! compared to my tilt head mixer I use to have, this stand mixer came with nice wide attachments since the bowl for this model was more wide than hallow compared to the bowl of the artisan and classic kitchen-aid mixers.
What I really liked about the mixing of the machine was that the attachment you attached, such as the paddle for example, it really was planetary as the box had said it should be. A planetary based stand mixer is when the attachment being used by the machine rotates fully around the bowl spinning and touching different point each minute to assure a proper and thorough mix coverage around the entire width of the bowl.
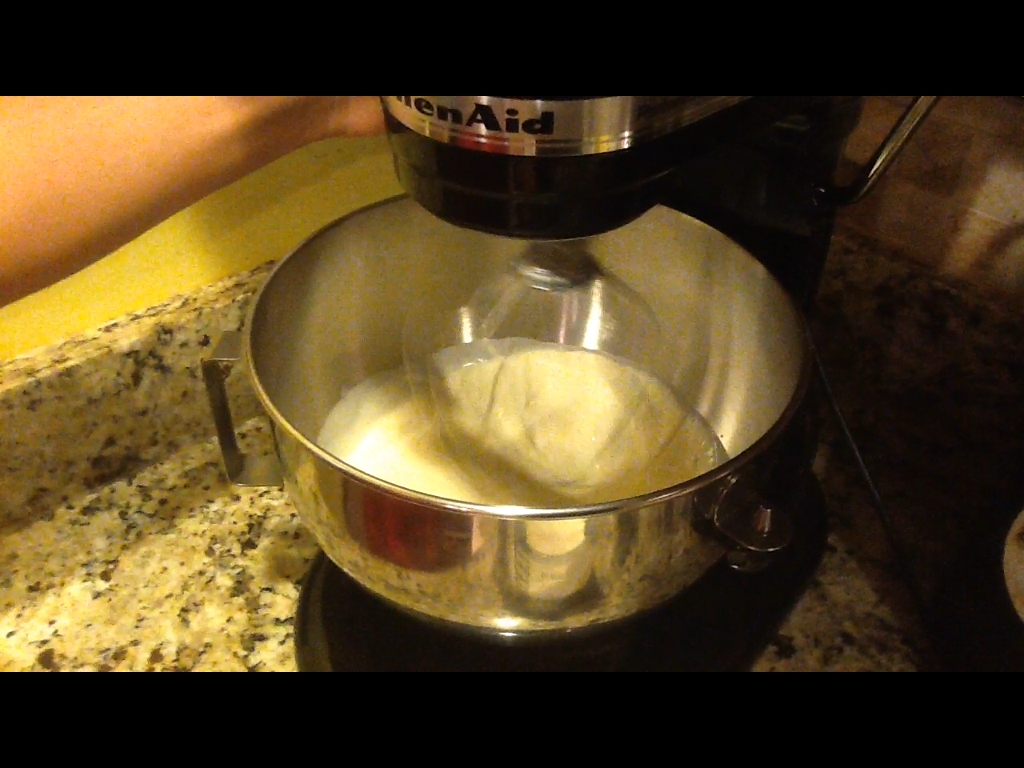
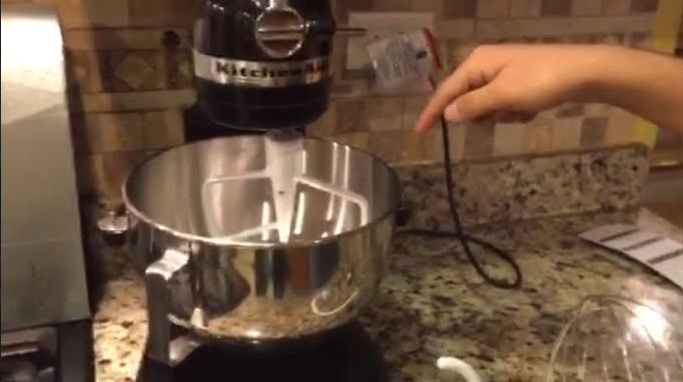
As my finger can guide below, the place where the top of the paddle extends to the bowl is the actual capacity the machine can mix until since anything higher than the upper middle of the paddle can not be mixed since the very op of the paddle is used for inserting the paddle into the machine, not for mixing.
Still, the paddle reached down and extended to cover most of the bowl, even though it can’t mix everything if the bowl is filled to the top, it’s no problem since I usually don’t triple recipes or fill the bowl to the top.
Although so far the mixer seemed perfect to me, it did have it’s cons. For example, when I got to the part of actually turning the machine on, it was very loud and sounded as though it was one of those heavy weight powered commercial mixers. And this kind of loud sound was just on speed 1! But it’s no big deal at the very least.
Check out the sound of that thing mixing! (It’s a short clip trust me)
Although the bowl was wide and generous and at least came with a handle, unlike my other mix, the hand was contoured. When I say the hand was contoured I literally mean it was bend out and was very very uncomfortable to hold. If you hold that handle for too long or while the bowl is heavy, your going to have to rest the bowl down because that shit sharp. But I really do appreciate
But I really to appreciate Kitchen-aid customer service as they were kind enough to inform me the handle on the bowl was meant to be like that and a bowl with a nice comfortable handle is $60 bucks. But that’s not the best part, out of there own self respect brand and holiday joy, they shipped me a free 6 quart bowl with a nice ergonomic comfortable handle. Best of all, I get to even keep the 5 quart bowl with the contoured handle as well so I didn’t have to trade it in or give it away, it’s a Christmas miracle! Two bowls could be really handy. So thumbs up for Kitchen-aids amazing service.
That bowl below with the really nice looking handle is the one they shipped me, it’s to be expected to come in 3 days. It’s 6 qt compared to the 5 qt the mixer came with, and the handle for this bowl is extremely wide and comfortable so it can easily be gripped.
http://www.kitchenaid.com/shop/-%5BKP26M1XER%5D-404905/KP26M1XER/This mixer was also very different in the sense that to attach the bowl onto place you had to align the two needles made on the bowl holder to go through the holes and then be snapped into place.
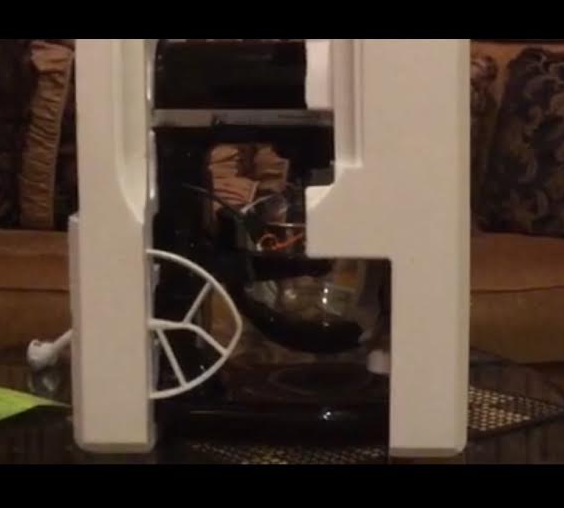
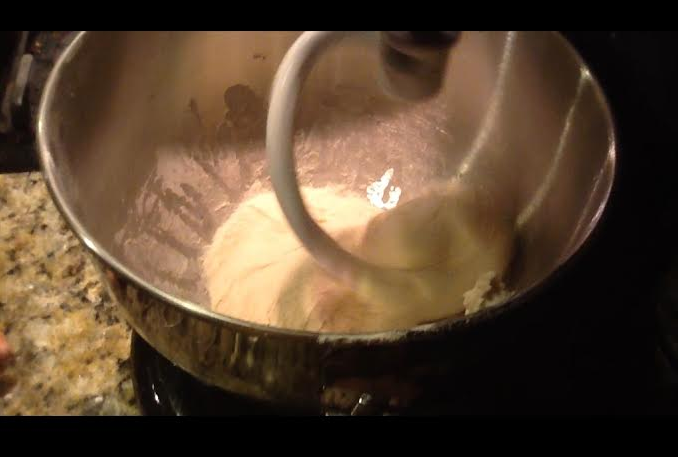
I decided that I should at the bare minimum do at least memo for you guys on my new mixer, so I decided to make some quick really sticky bread dough with just simple flour and water so I could see how well the spiral dough hook works. Considering I make 2 bread dough batches together in one week, I needed a powerful mixer that could really push through and this machine end up being more than capable! The spiral dough hook worked just fine.
Check out this next short clip from the video version of this post from the top of this page,
Lastly, like any other Kitchen-aid stand mixer, the professional 5 plus came with a attachment hub. Unlike tilt head models, in the pro 5 plus you just pull the nob up to insert any attachments into your kitchen-aid. This is really convenient compared to the artisan or classic models in which you had to physically remove the nob to insert any extra attachments into your mixer, on this mixer you can just push it up and out of the way and easily insert any extra attachments such as a pasta maker, food grinder, etc.
Summary:
Let’s do a quick review of all the pros and cons we went over of the kitchen-aid professional 5 plus. Applies to both the video version of the post and the written version.
Pros:
Large and well mixing capable attachments
Bowl lift model
Wide and generous bowl coverage
Large 5 quart bowl for big batches
Powerful 520 watt machine and dough hook
Appreciative Kitchen-aid customer service
Attachment hub; allows mixer to hold many extra purchased attachments
Cons:
Uncomfortable contoured bowl handle
Loud unnecessary sound from mixer when mixing
Pouring shield was not included
I forgot to mention, although this model does not come with a pouring shield, it should have considering its a professional mixer and a pouring chute allows a nice wide chute to pour ingredients into the bowl while it’s mixing.
picture from bedbathandbeyond.com
Overall I give this nice hefty mixer a 4 star out of 5. The mixer mixed very well and I really do like the better and upgraded beater, dough hook, and large whisk it came with along with the bowl coverage the attachments reached when mixing. Though, at bare minimum the bowl should have had a comfortable handle and came with a pouring Shield considering they call this mixer professional but at least I am getting a second free bowl from Kitchen aid.
Looking past the very few cons, I am very thankful for having this mixer and look forward to using it for my next recipe! It’s really a nice and powerful machine that I am satisfied with and wish everybody could have this Christmas.
Happy Holidays everybody and I hope you have a nice warm winter. By the way, if you read this post, make sure to check out the video on it since I was able to show more details on the mixer in the video and cover more in visuals.
P.S. make sure to check out my new recipe coming out within two days, I will be covering how to make apple bread pudding in my first recipe video ! I will be using the mixer we just reviewed to make the recipe so make sure to look out for my next post. Also watch the video above the page if you haven’t!!!
Nothings cozier than a cup of home brewed chi tea on a chilly night
On a cold winters night this December, what better warm drink to sip on under those blankets than chi tea? Of course hot chocolate is soothing and a very nice option to drink on a cold December night but that’s too original. Why not change things up and try something new and as delicious.
I thought chi tea was the perfect recipe to share for this occasion because not only are cold and chilly nights coming, but also since chi tea is a nice warm drink that I have to thank my ethnicity for since chi tea is a drink very well known and drank in Pakistan. And yes to all who didn’t know I am Pakistani.
Besides it’s cultural background, what’s really different about this tea is the way it’s made. Most people just heat up water and let a tea bag sit in there but not this tea. This tea requires a bit more patience and some other ingredients.
Making chi is also really easy and doesn’t take too long to make. Without further a do, here’s how chi is made.
Yields 4-5 cups of tea
Ingredients:
1/2 cup of water
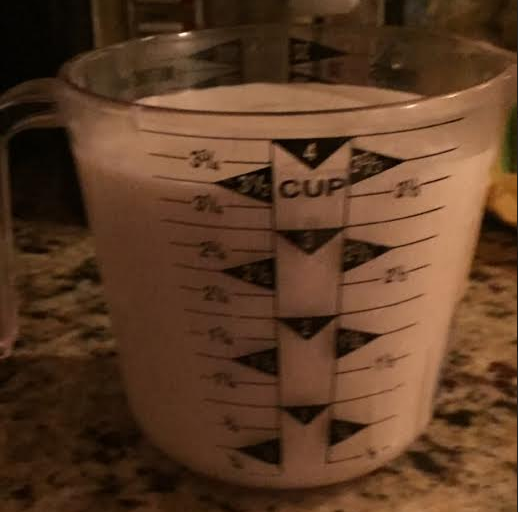
3 1/2 cups regular or 2% milk
3 tablespoons Orange pekoe black tea granules
3 tablespoons granulated sugar
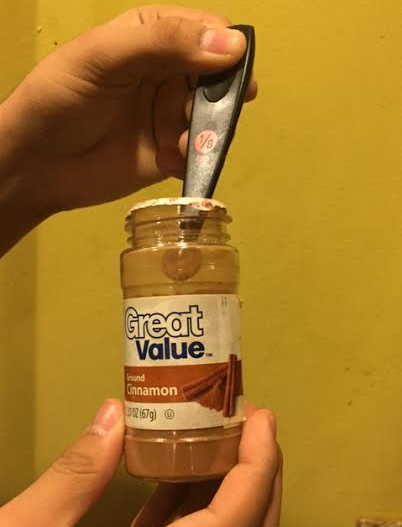
1/8 teaspoon ground cinnamon
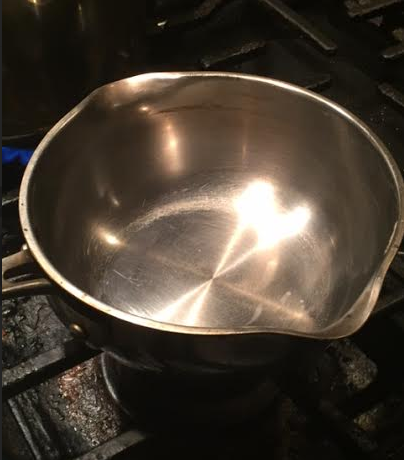
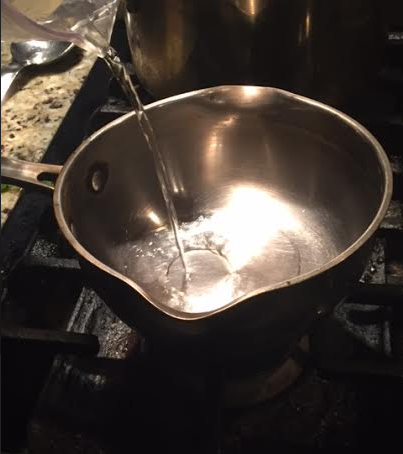
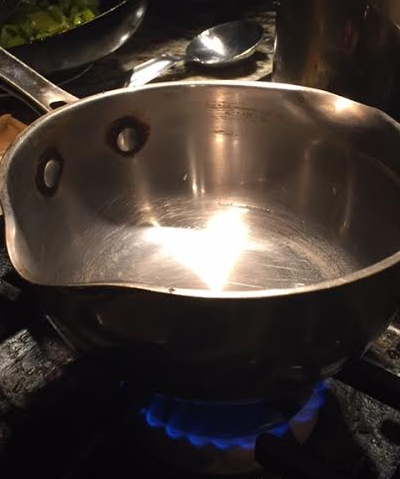
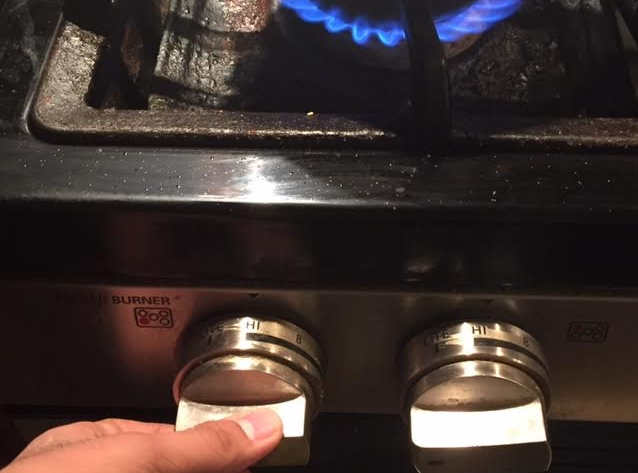
1. In a saucepan over a stove, add water and let sit on low heat for a minute
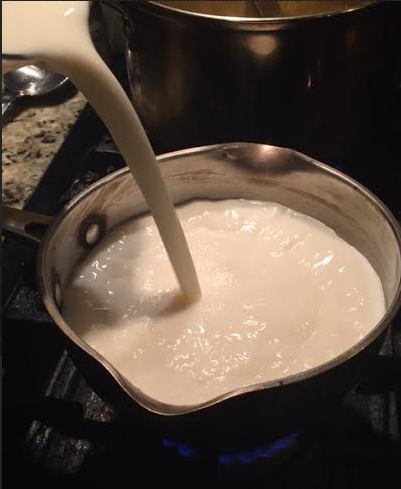
2. Next, add milk into sauce pan of water and change the heat to high
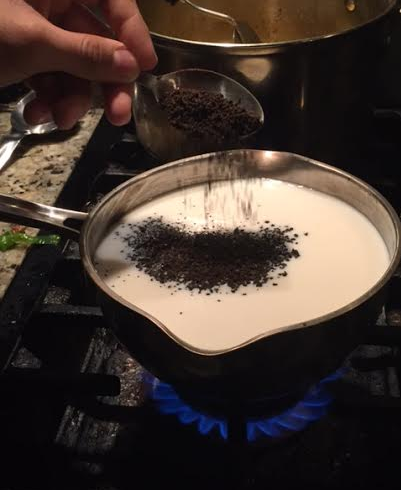
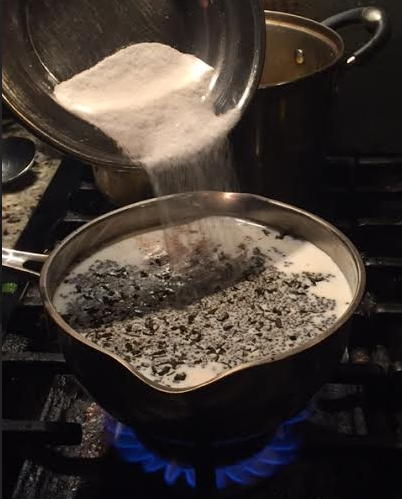
3. Add black tea granules along with sugar and using a spoon or whatever you feel like, mix everything together
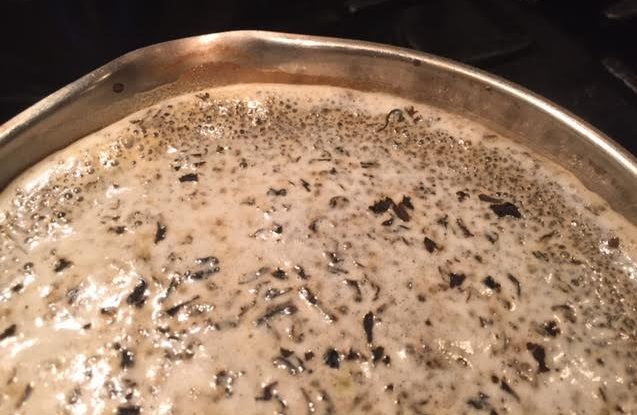
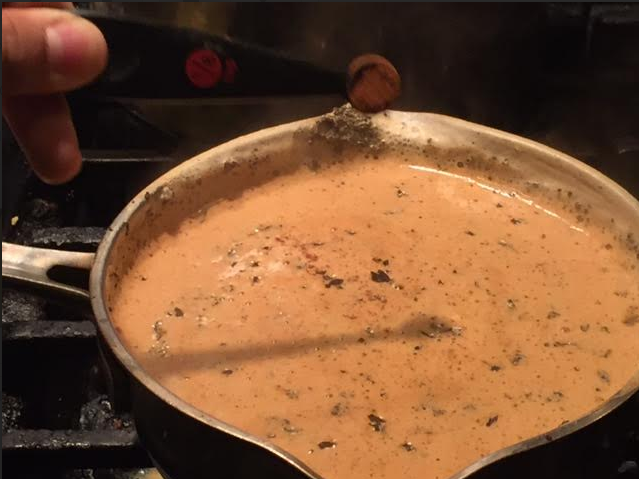
4. After mixing, your tea should look somewhat like cookies n cream (milk with the granules makes it look like cookies n cream) Let the sauce pan sit on high heat.
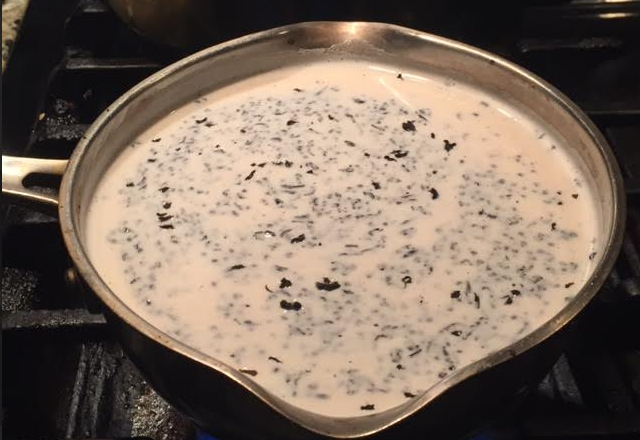
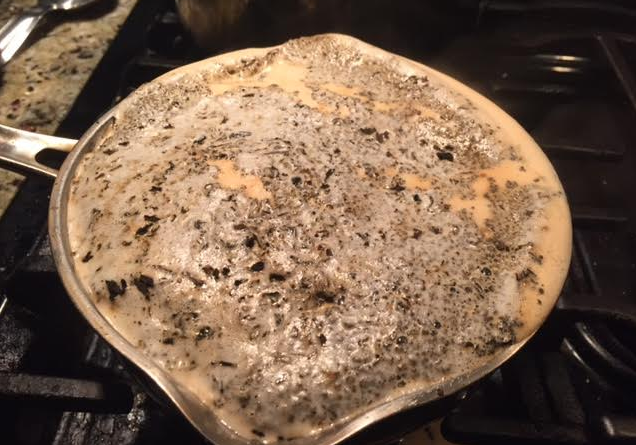
5. After 3 minutes or so, you should notice that the sides of the pan with the milk have begin bubble or condense. This is a sign the tea is almost ready. Once the tea begins to bubble a lot of rise almost out of the sauce pan, turn off the stove and stir with a spoon.
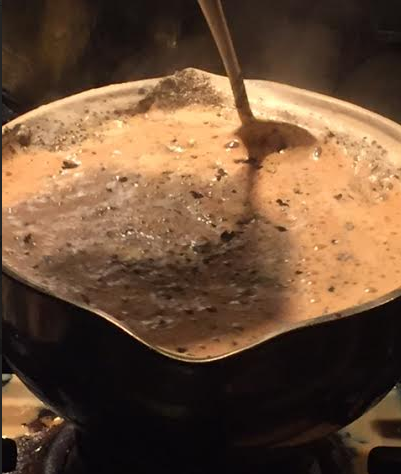
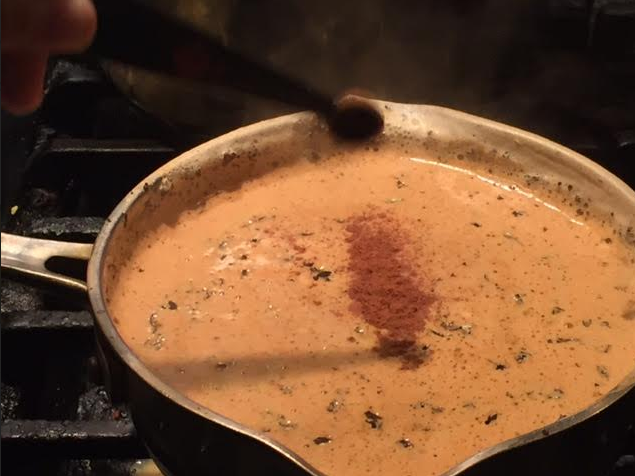
6. Once stirred, add the 1/8 teaspoon of cinnamon into the brewed chi.
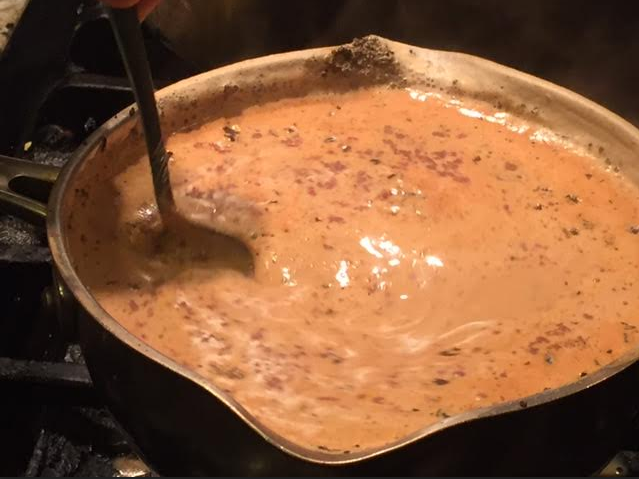
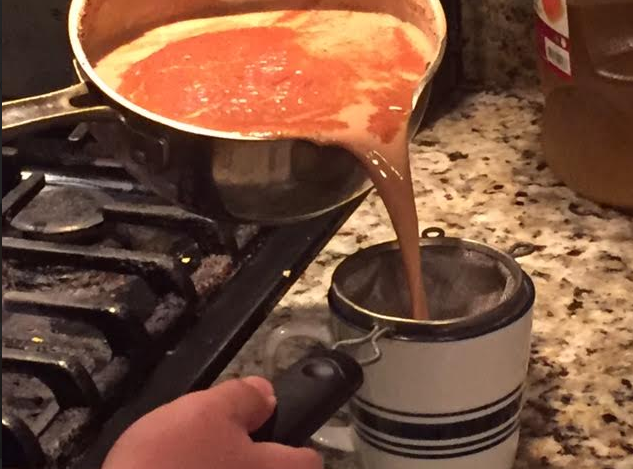
7. Stir again and you chi should look as the second picture below; a eye catching copper like color
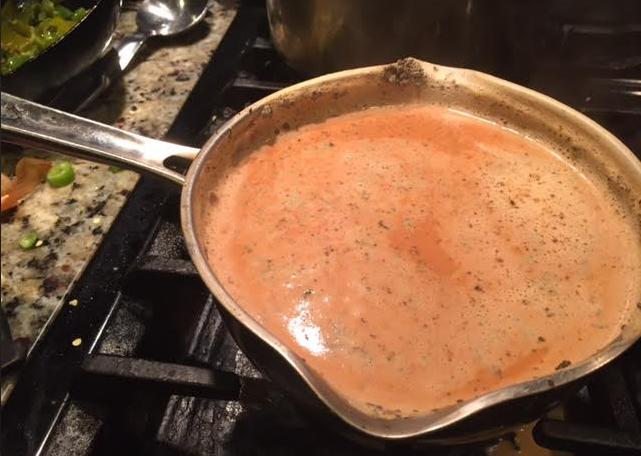
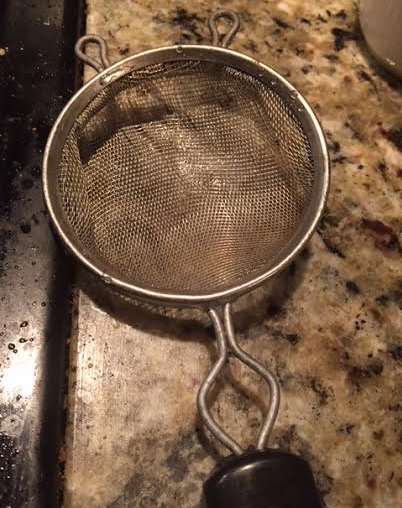
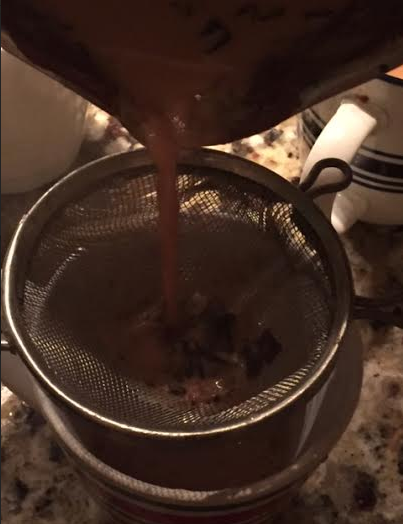
8. This next part might sound a bit different or weird but it’s extremely necessary as this step will ensure no tea granules come into your mouth while you drink, trust me its nasty when granules get in your mouth while drinking! Using a small mini sifter, hold the small sifter over your cup as you pour in the chi into cup. As the third picture shows, all the granules are caught and separated from the drink by the sifter.
You tea is ready, divide into 4 or 5 five cups and enjoy; best drank hot, don’t let it cool or else you’ll miss out the taste!
Summary:
This tea is not too sweet but very tasty and a comfort drink right for any occasion such as for cold weather, guest, gives energy to keep you up, or right for just drinking for tea time and dining.
I really hope everybody tries this kind of tea since it differs from other kinds of tea such as green tea, herbal tea, oolong, or just a simple teabag. It’s always great to try something new or learn about a different culture past time drink such as chi, so give it try 🙂 It’s easy , delicious, and very well known in Pakistan but also drank in any other country with a sense for tea.
For anyone that is curious, I used red label orange black pekoe tea granules so, any brand of orange black pekoe tea is alright but I highly recommend red label tea as they are a long going and well reputed brand.
Thanks for reading and best of tea making luck to everyone. New post on kitchen-aid professional 5 plus stand mixer coming out on Tuesday, and on Thursday I will be releasing a new and amazing recipe teaching how to make my very own homemade recipe for cinnamon apple bread pudding.
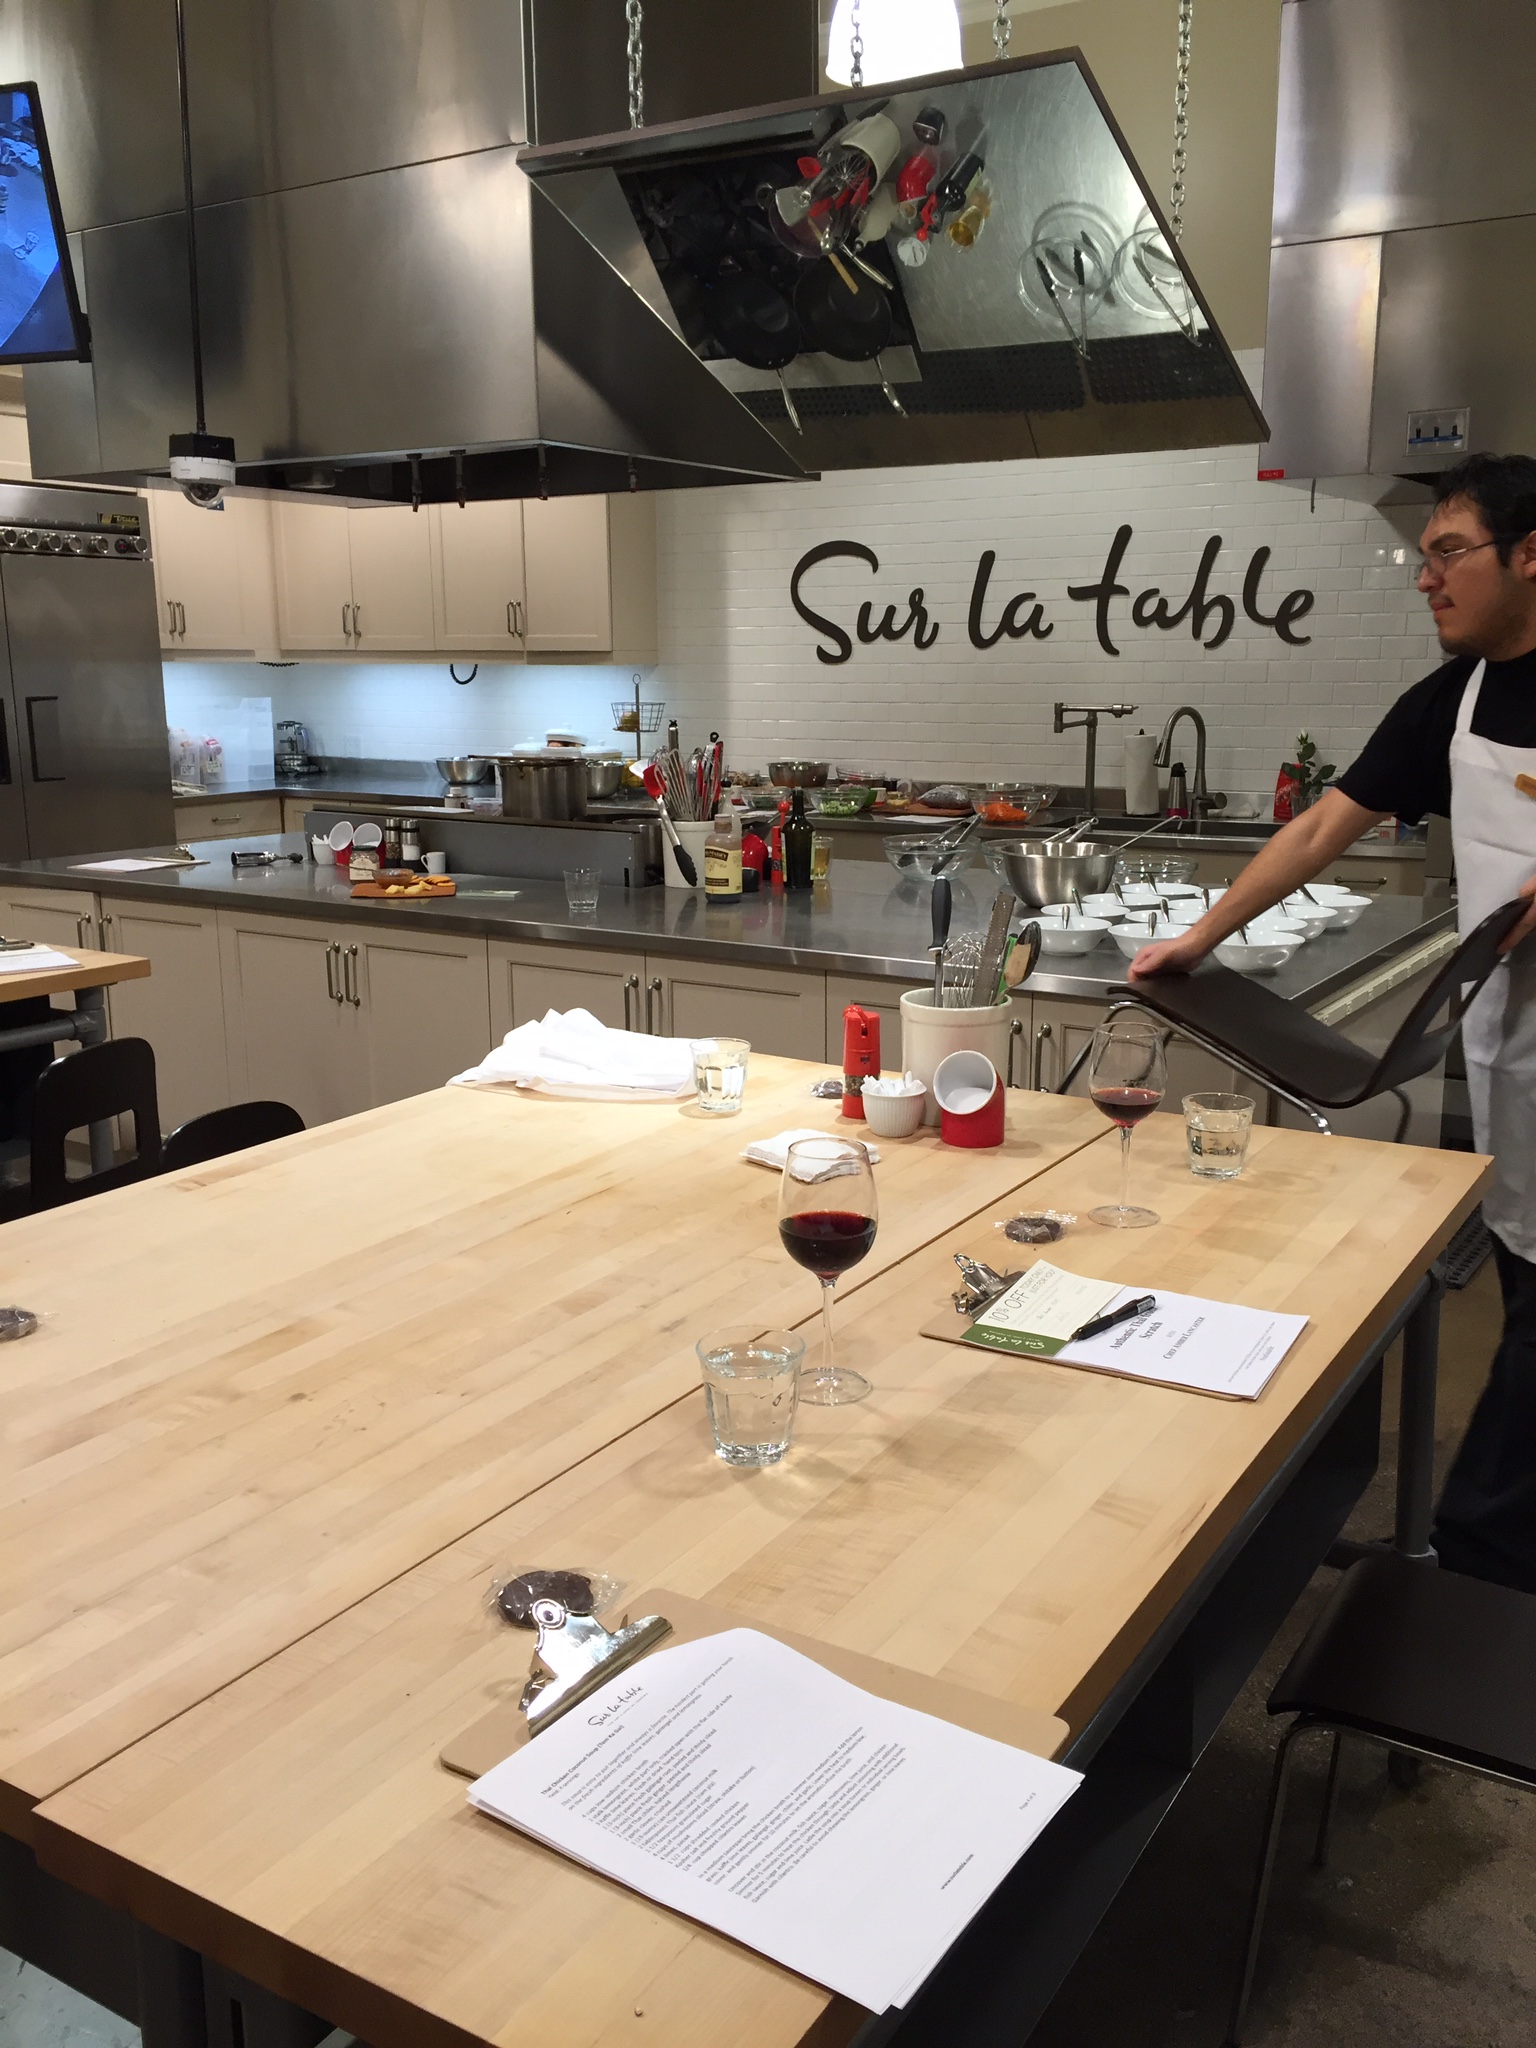
Happy December Everybody! I hope most of you remembered my previous posts on Sur la table and cooking classes so I don’t have to go over all that again. We all know how boring reviewing is 🙂
So to celebrate my Black Friday last week I thought, what better way than go take a cooking class? That too this one was especially special since head chef Amber Lancaster, yes that really nice same one mentioned in most of my other posts, had signed me and my mom up for a Thai cooking class that day for free.
Considering it would be my moms first time at Sur La table I was both skeptical and excited. Especially since every time I sign up for a class she asks me “what’s the big deal about Sur la table” and having to pay $70 isn’t that fun either for her.
Moving back to the class, I was glad to see more people who had even signed up for the class compared to my pasta class in which I was the only member. Not that being the only attendee is bad but a little bit of interaction with others is always fresh.
Note I couldn’t take much pictures since there were like 9 more people who attended the class with my mom and I so too much picture taking would have been awkward.
The class menu of the day was:
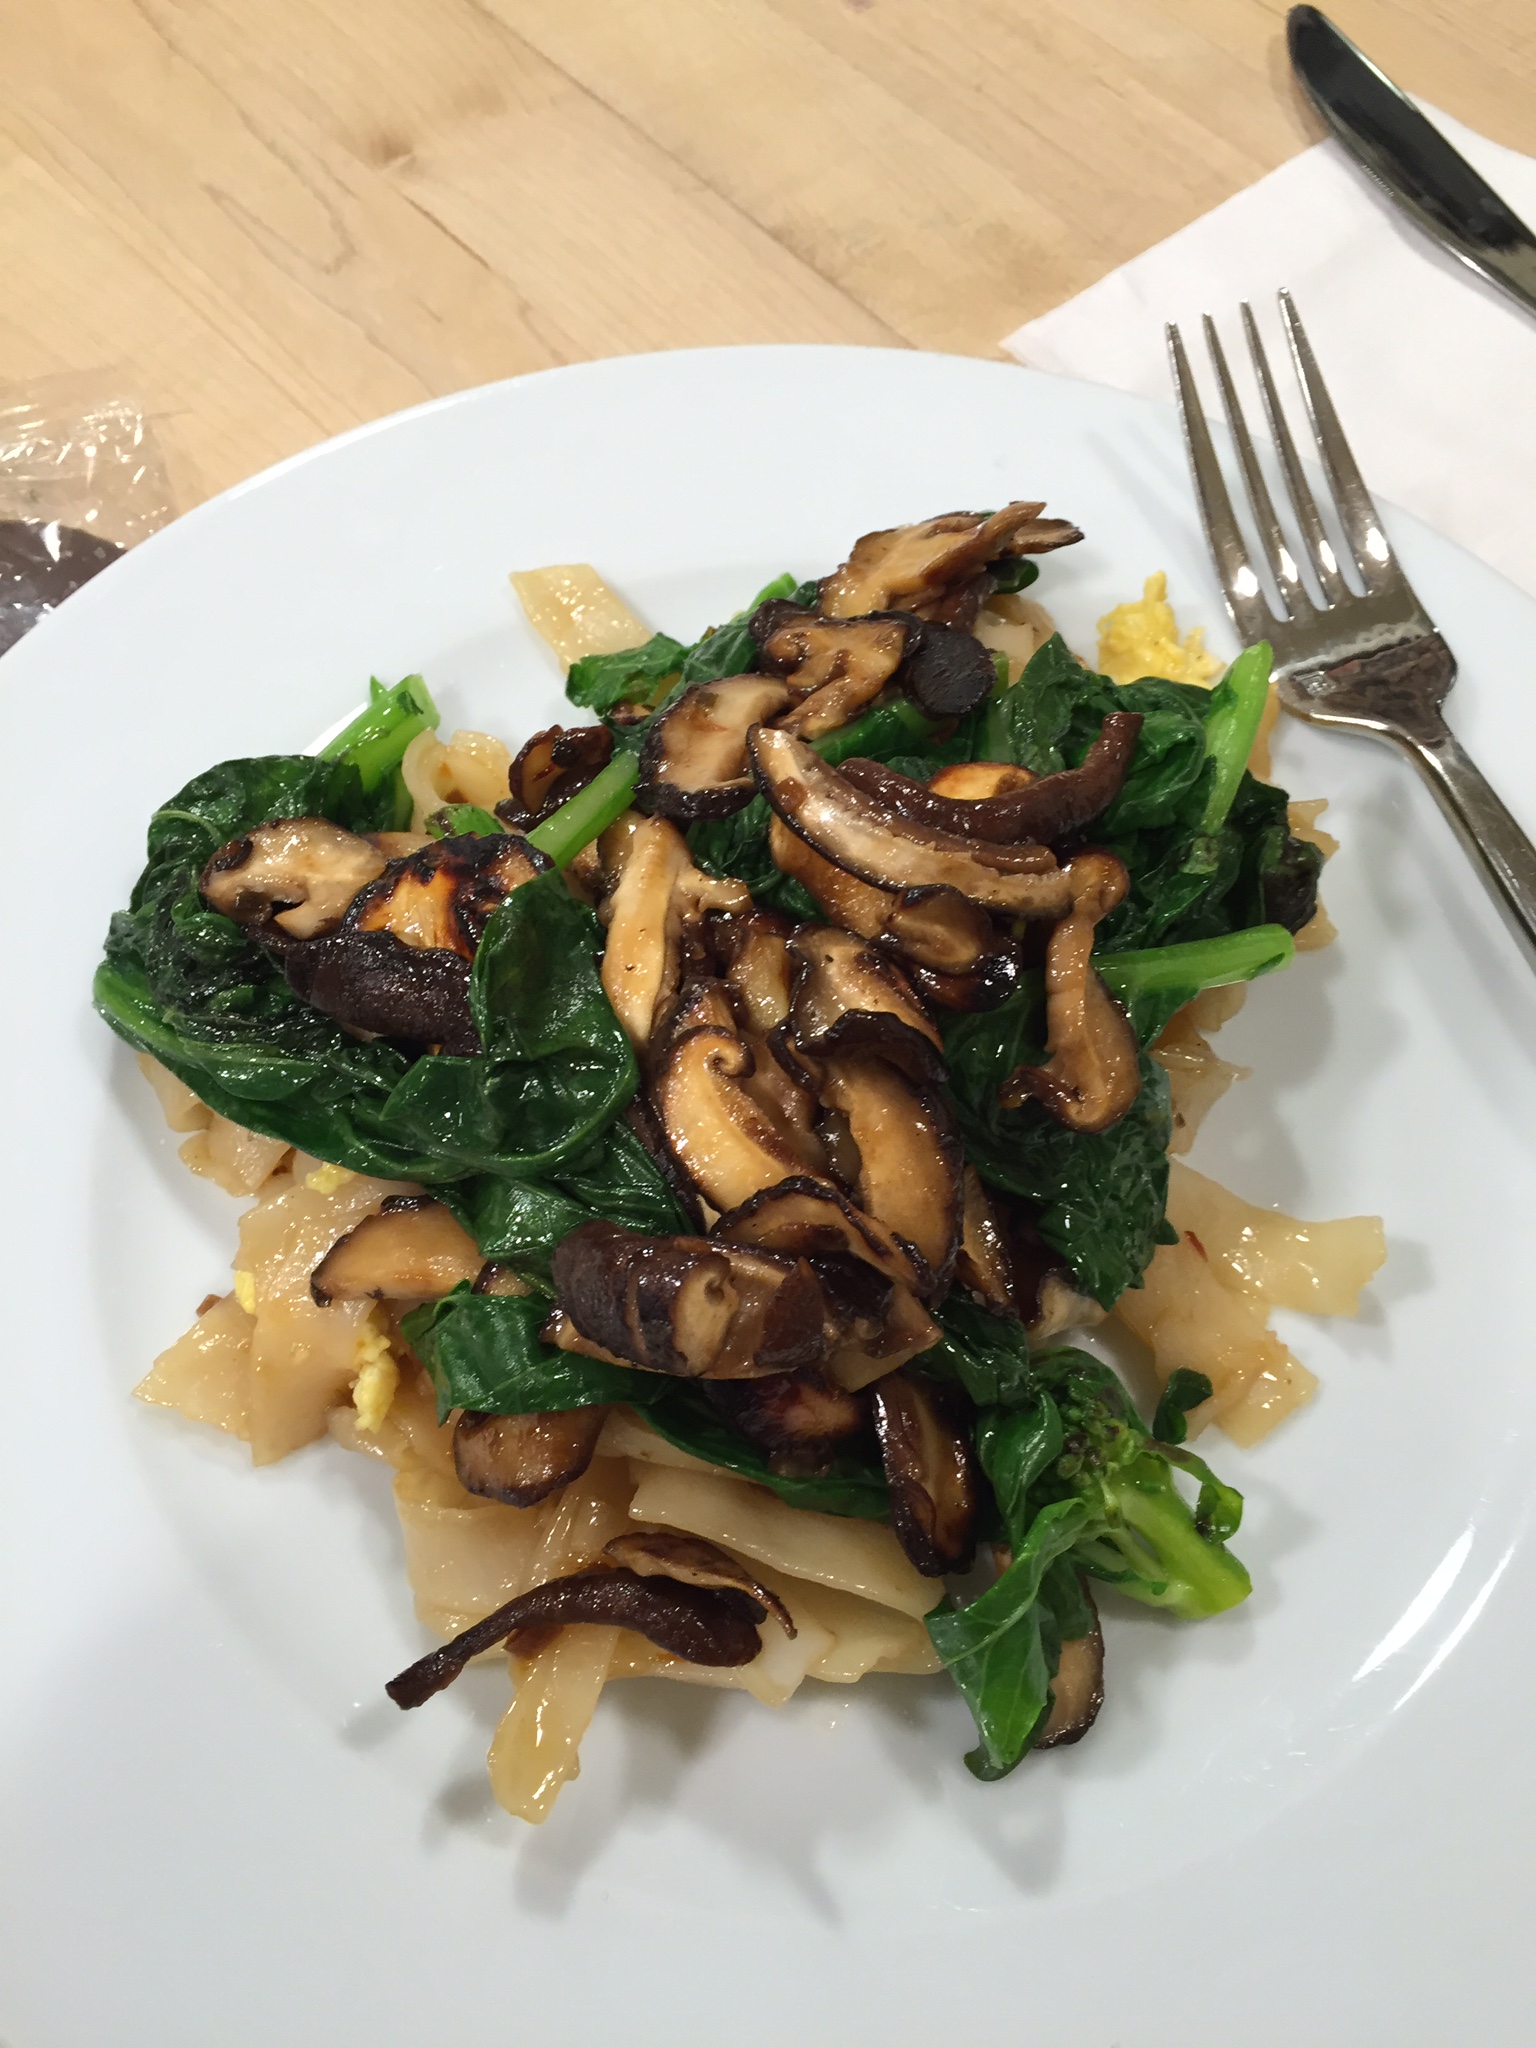
Stir fried rice noodles with broccoli and beef
Chicken coconut soup
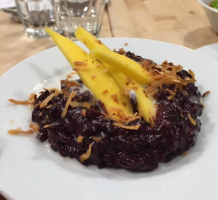
Forbidden rice pudding with mango
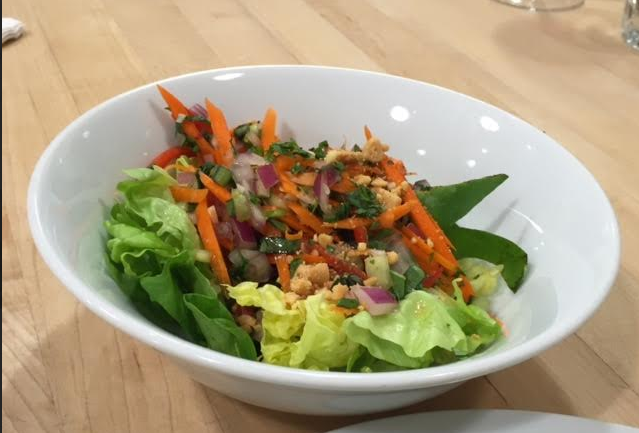
Roasted Peanut salad
We started class off with a whole lot of vegetable cutting. Even for being in a class of 11, one whole hour of the class was taken into cutting up all sorts of veggies such as basil, onion, galangal, ginger, cucumber, etc. But this was no surprise considering we were gonna cook Thai.
“Be careful, don’t bring your knife that close!” My mom whispers from next to me at every moment that I even touch a vegetable with the knife.
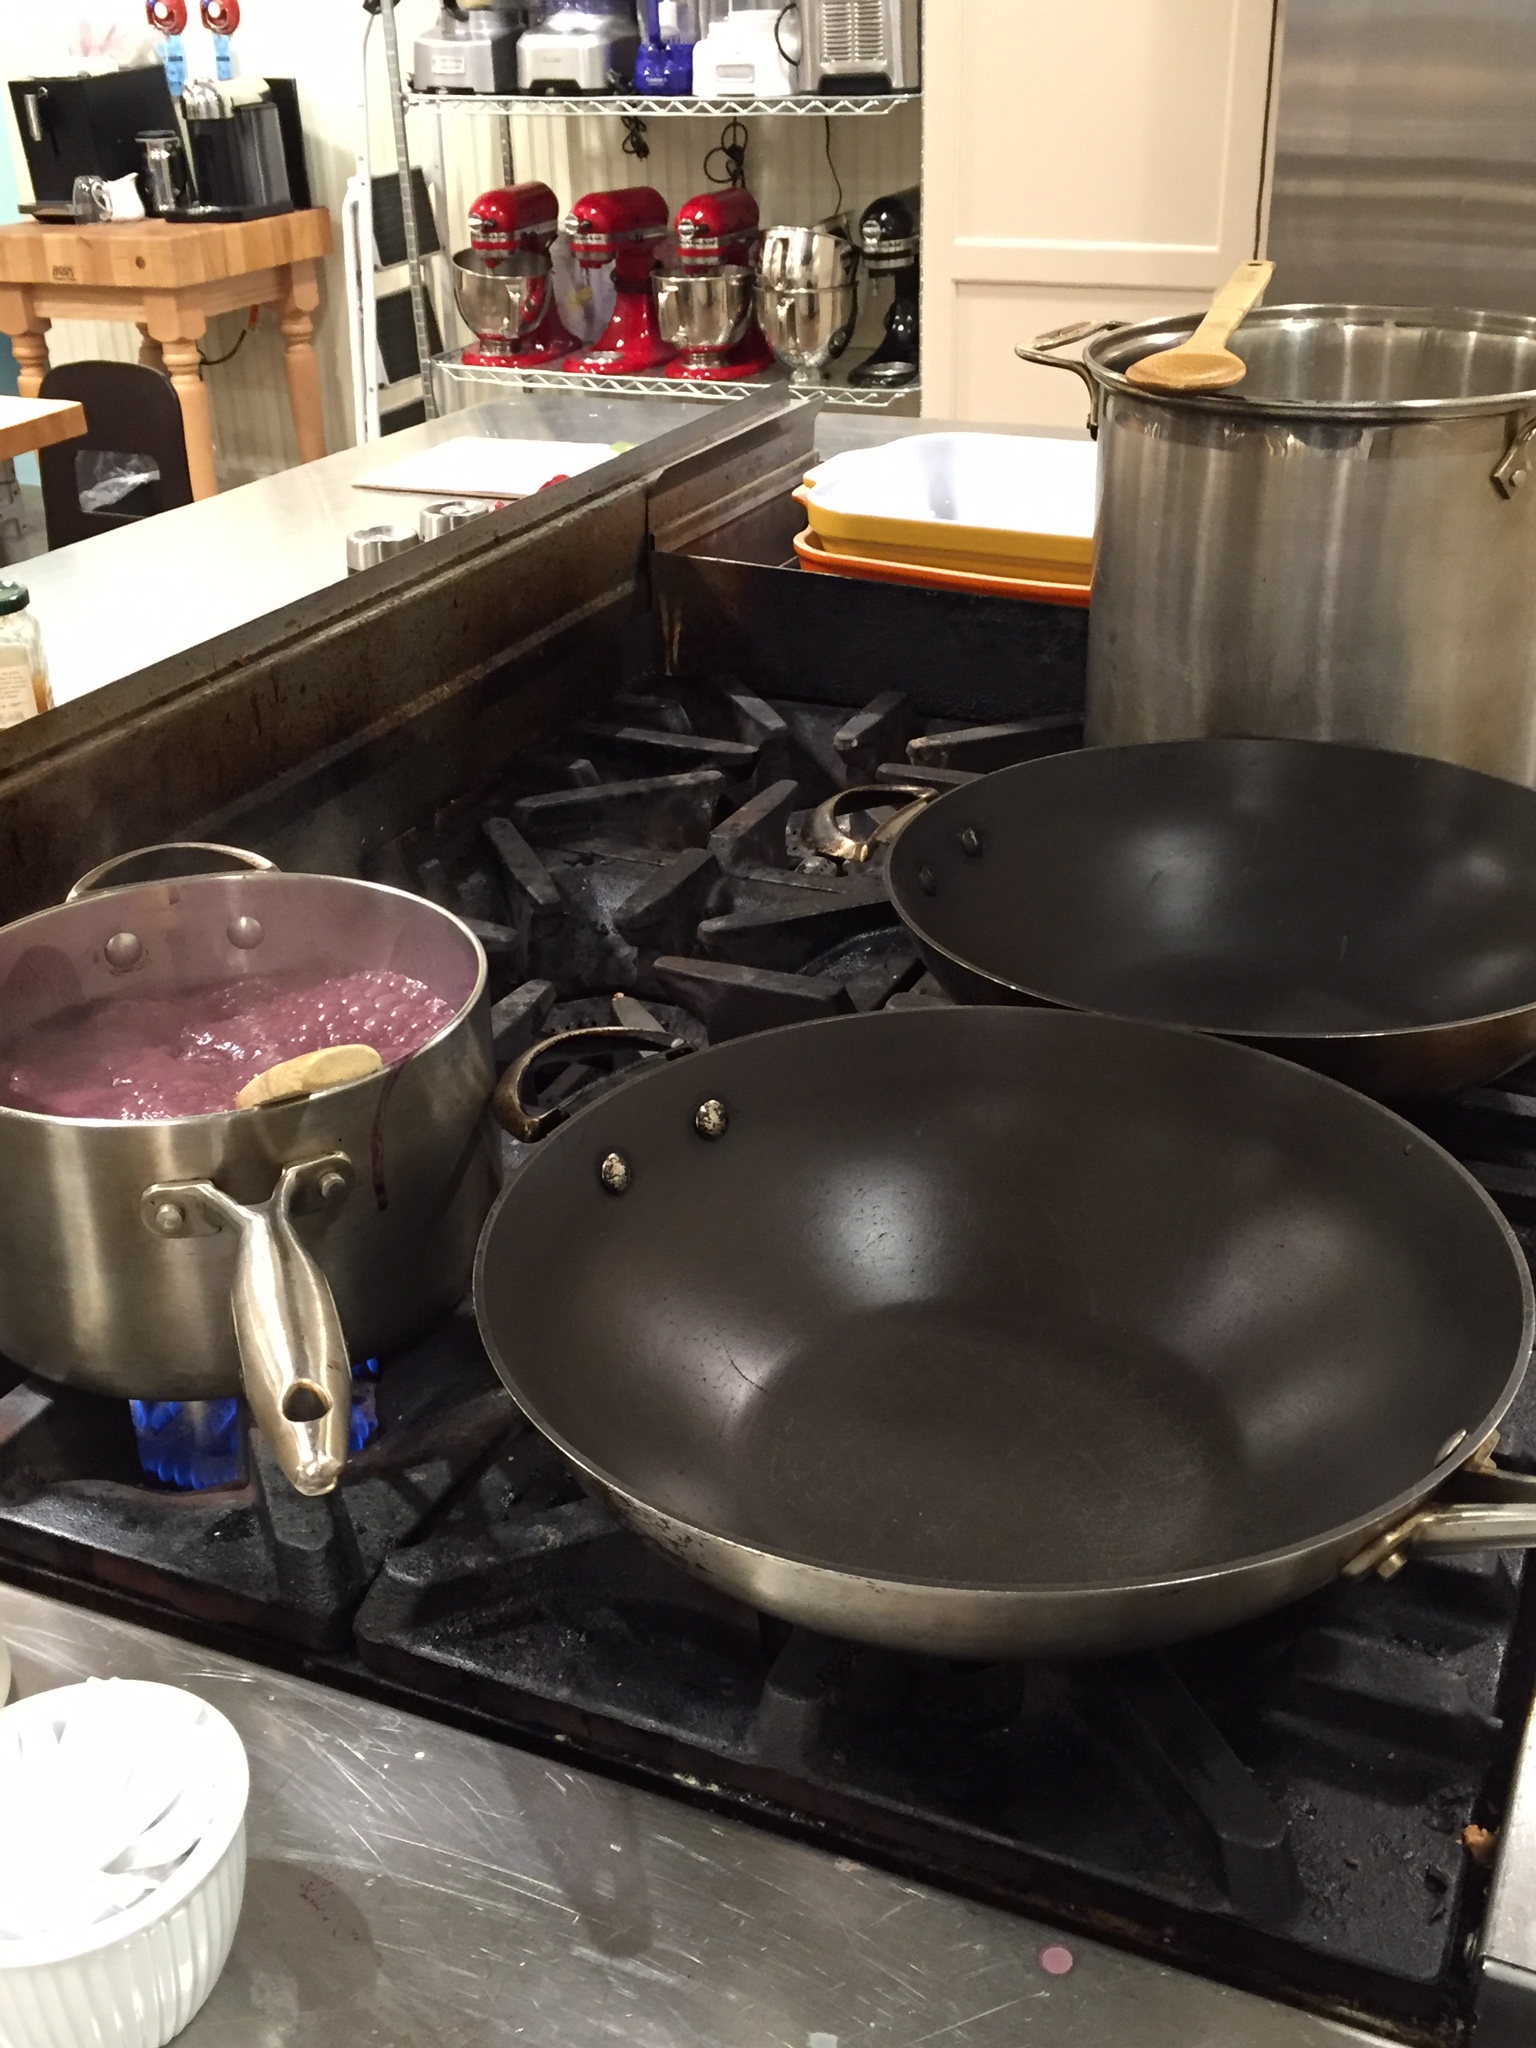
After dicing who knows how many different variety’s of greens, the part of all came; heading over to the grill.
By the way, no that saucepan with purple liquid is not ooze… that’s how our rice pudding looked before fully developing. As promised, Amber would specifically wait and reserve the part of making the dish of stir friend rice noodles for my mom since she wanted to learn that recipe badly.
Once we were done with pudding and let it sit, we accomplished making the spicy chicken coconut soup an everyone sat down and begin drink except my mom and I of course; we don’t eat chicken.
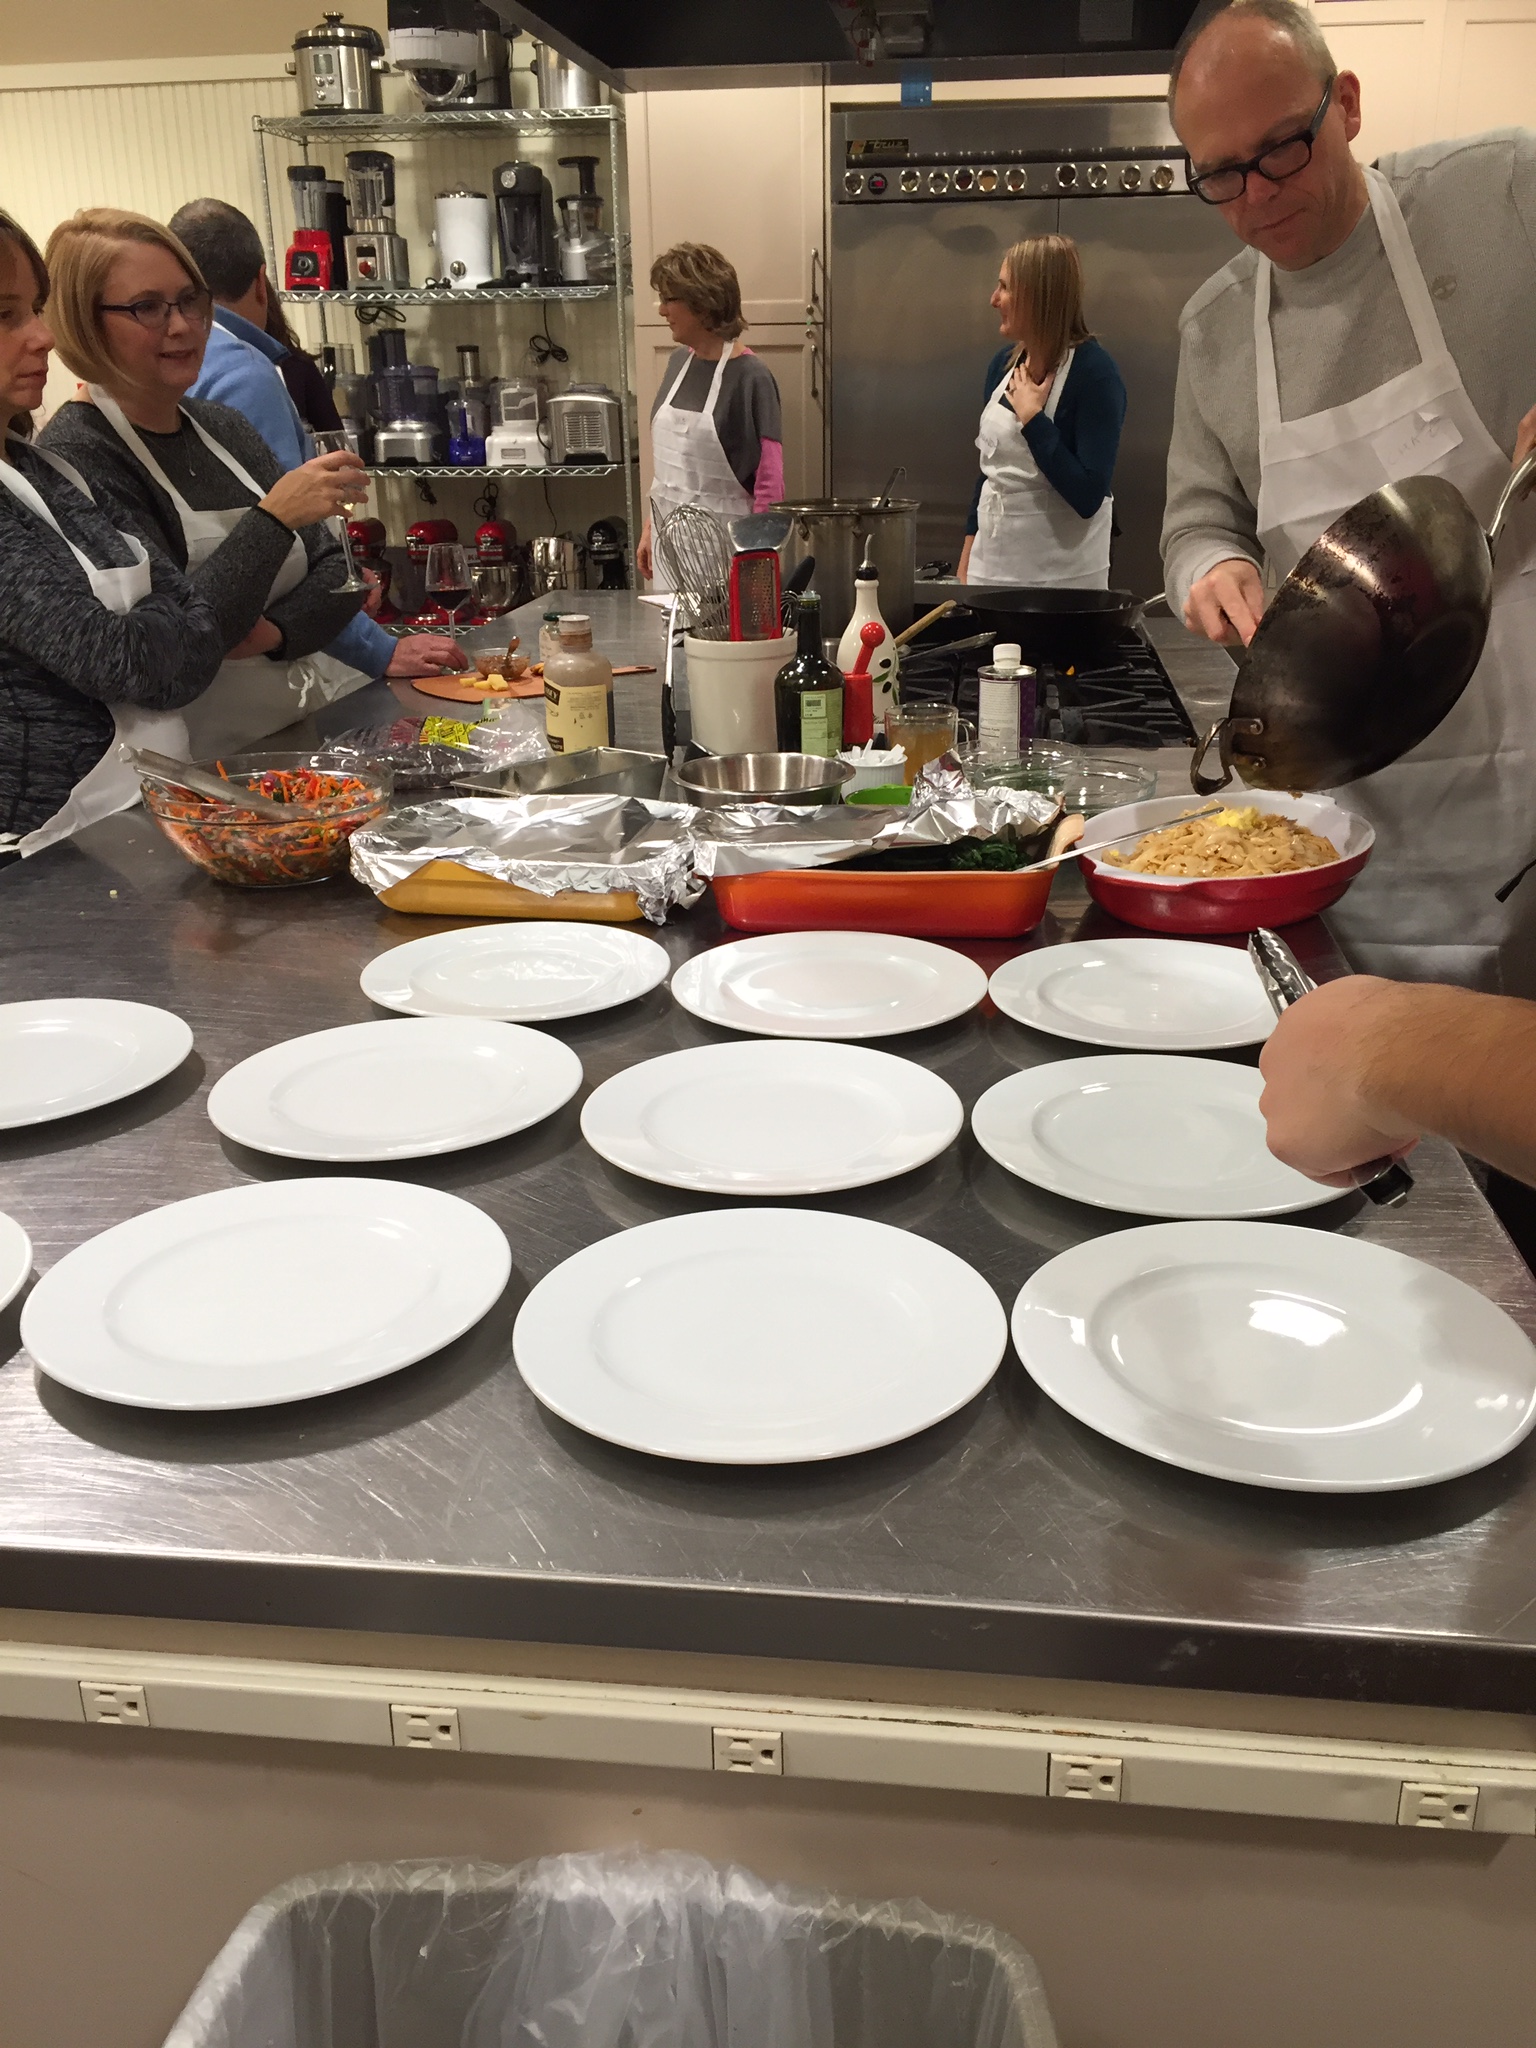
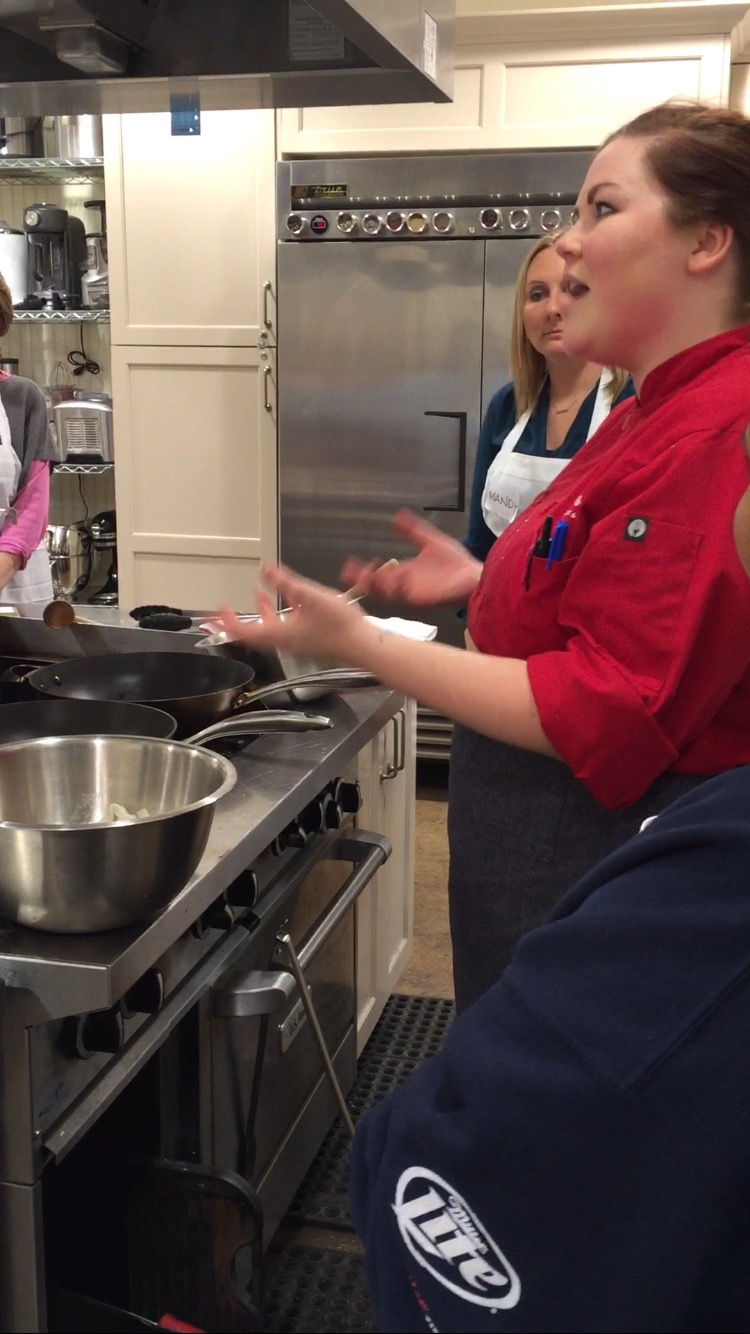
Finally, came the time to make the stir fried rice noodles in the wok pans while other group members worked on the peanut salad. As usual, chef Amber Lancaster was very descriptive of the dish we were about to prepare as she went over tips, tricks, and instructions before we got started.
Here are some videos from the rest of class. Mom tried her best to learn how to flip food from a Wok Pan and finally did so with the noodles right when I had to end the video, also chef Amber gave more instructions.
Summary:
Well I can definitely say class was different thanks to the celebrity appearance. The food also ended up turning out great and we had tons of fun… even my mom stayed a bit after class to talk with our chef instructor! Check out some pictures of the food we made. Note I do not have a picture of the coconut soup since I didn’t take a bowl. The first picture is our stir friend rice noodles, the second picture is the amazing forbidden rice pudding turned out! The third picture is the roasted peanut salad with veggies,
At first I have to admit, I wasn’t excited about other attendees in the class because that equals to more sharing of all the steps of preparing the dish. But, before I knew it, it was no problem at all! Everybody was nice to each other and besides the attention for being the only teen in the class of adults, my mom even had a positive social experience as the people of our table were more than friendly and had many conversations with her throughout the class.
Best of all, everybody was a team player. We have all at least once in our lives had that one person (s) in a group who (first bad word so bare with me) bitches around and takes up all the work or fun parts. Either it’s in a kitchen or project, it just sucks away all the fun but most certainly was not the case in class.
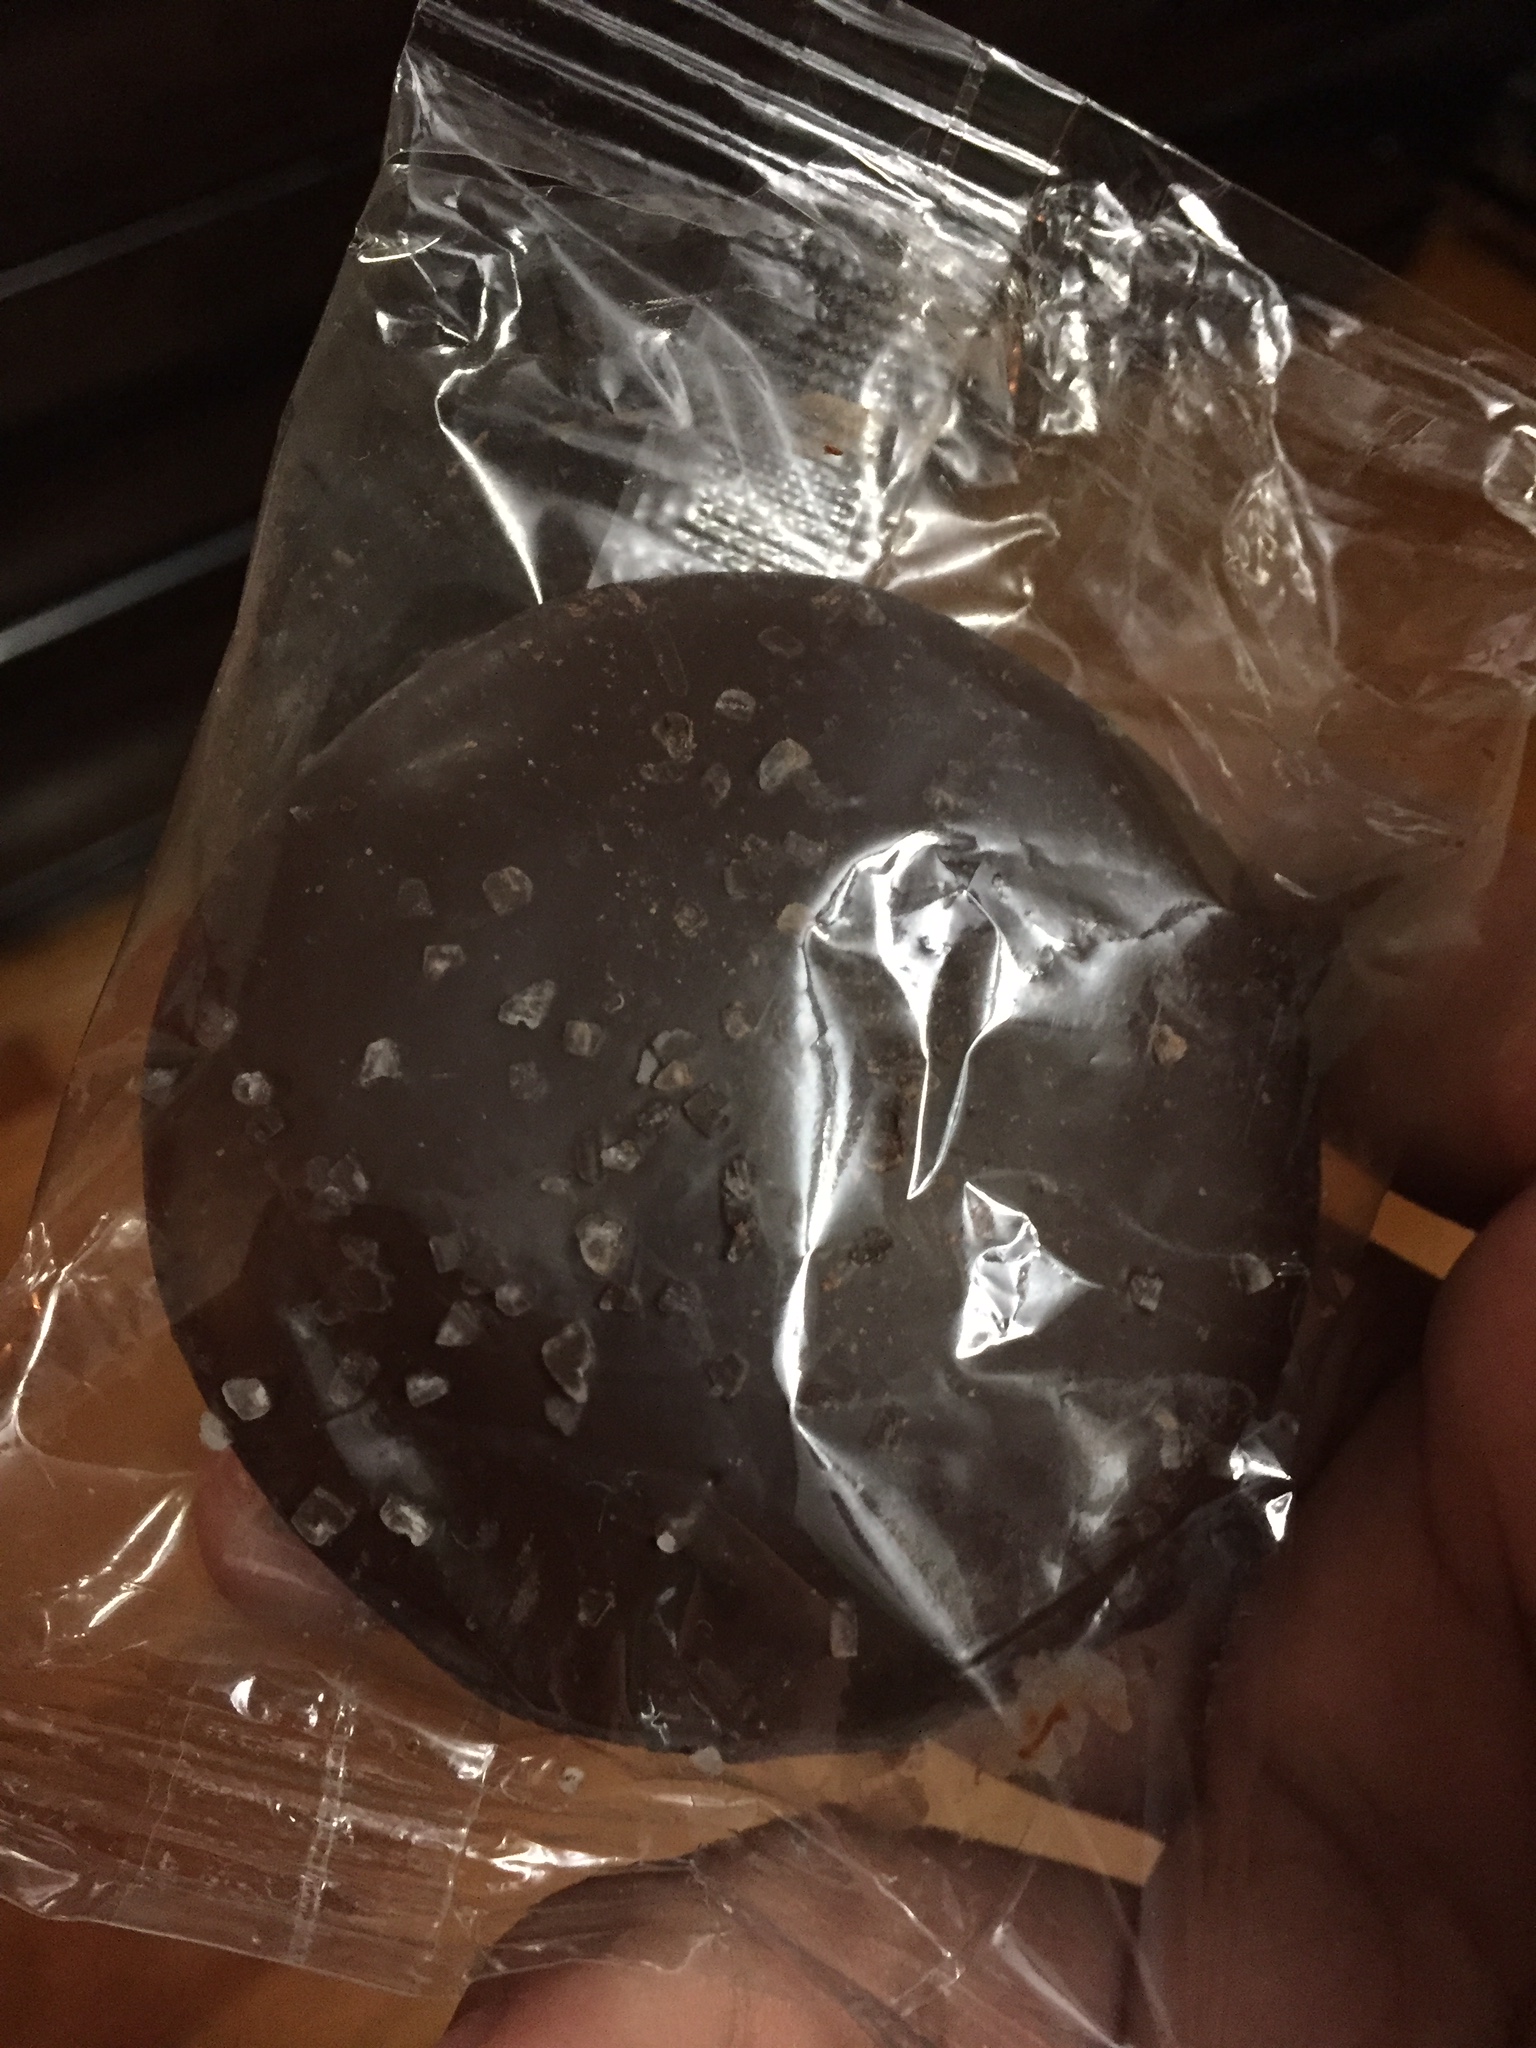
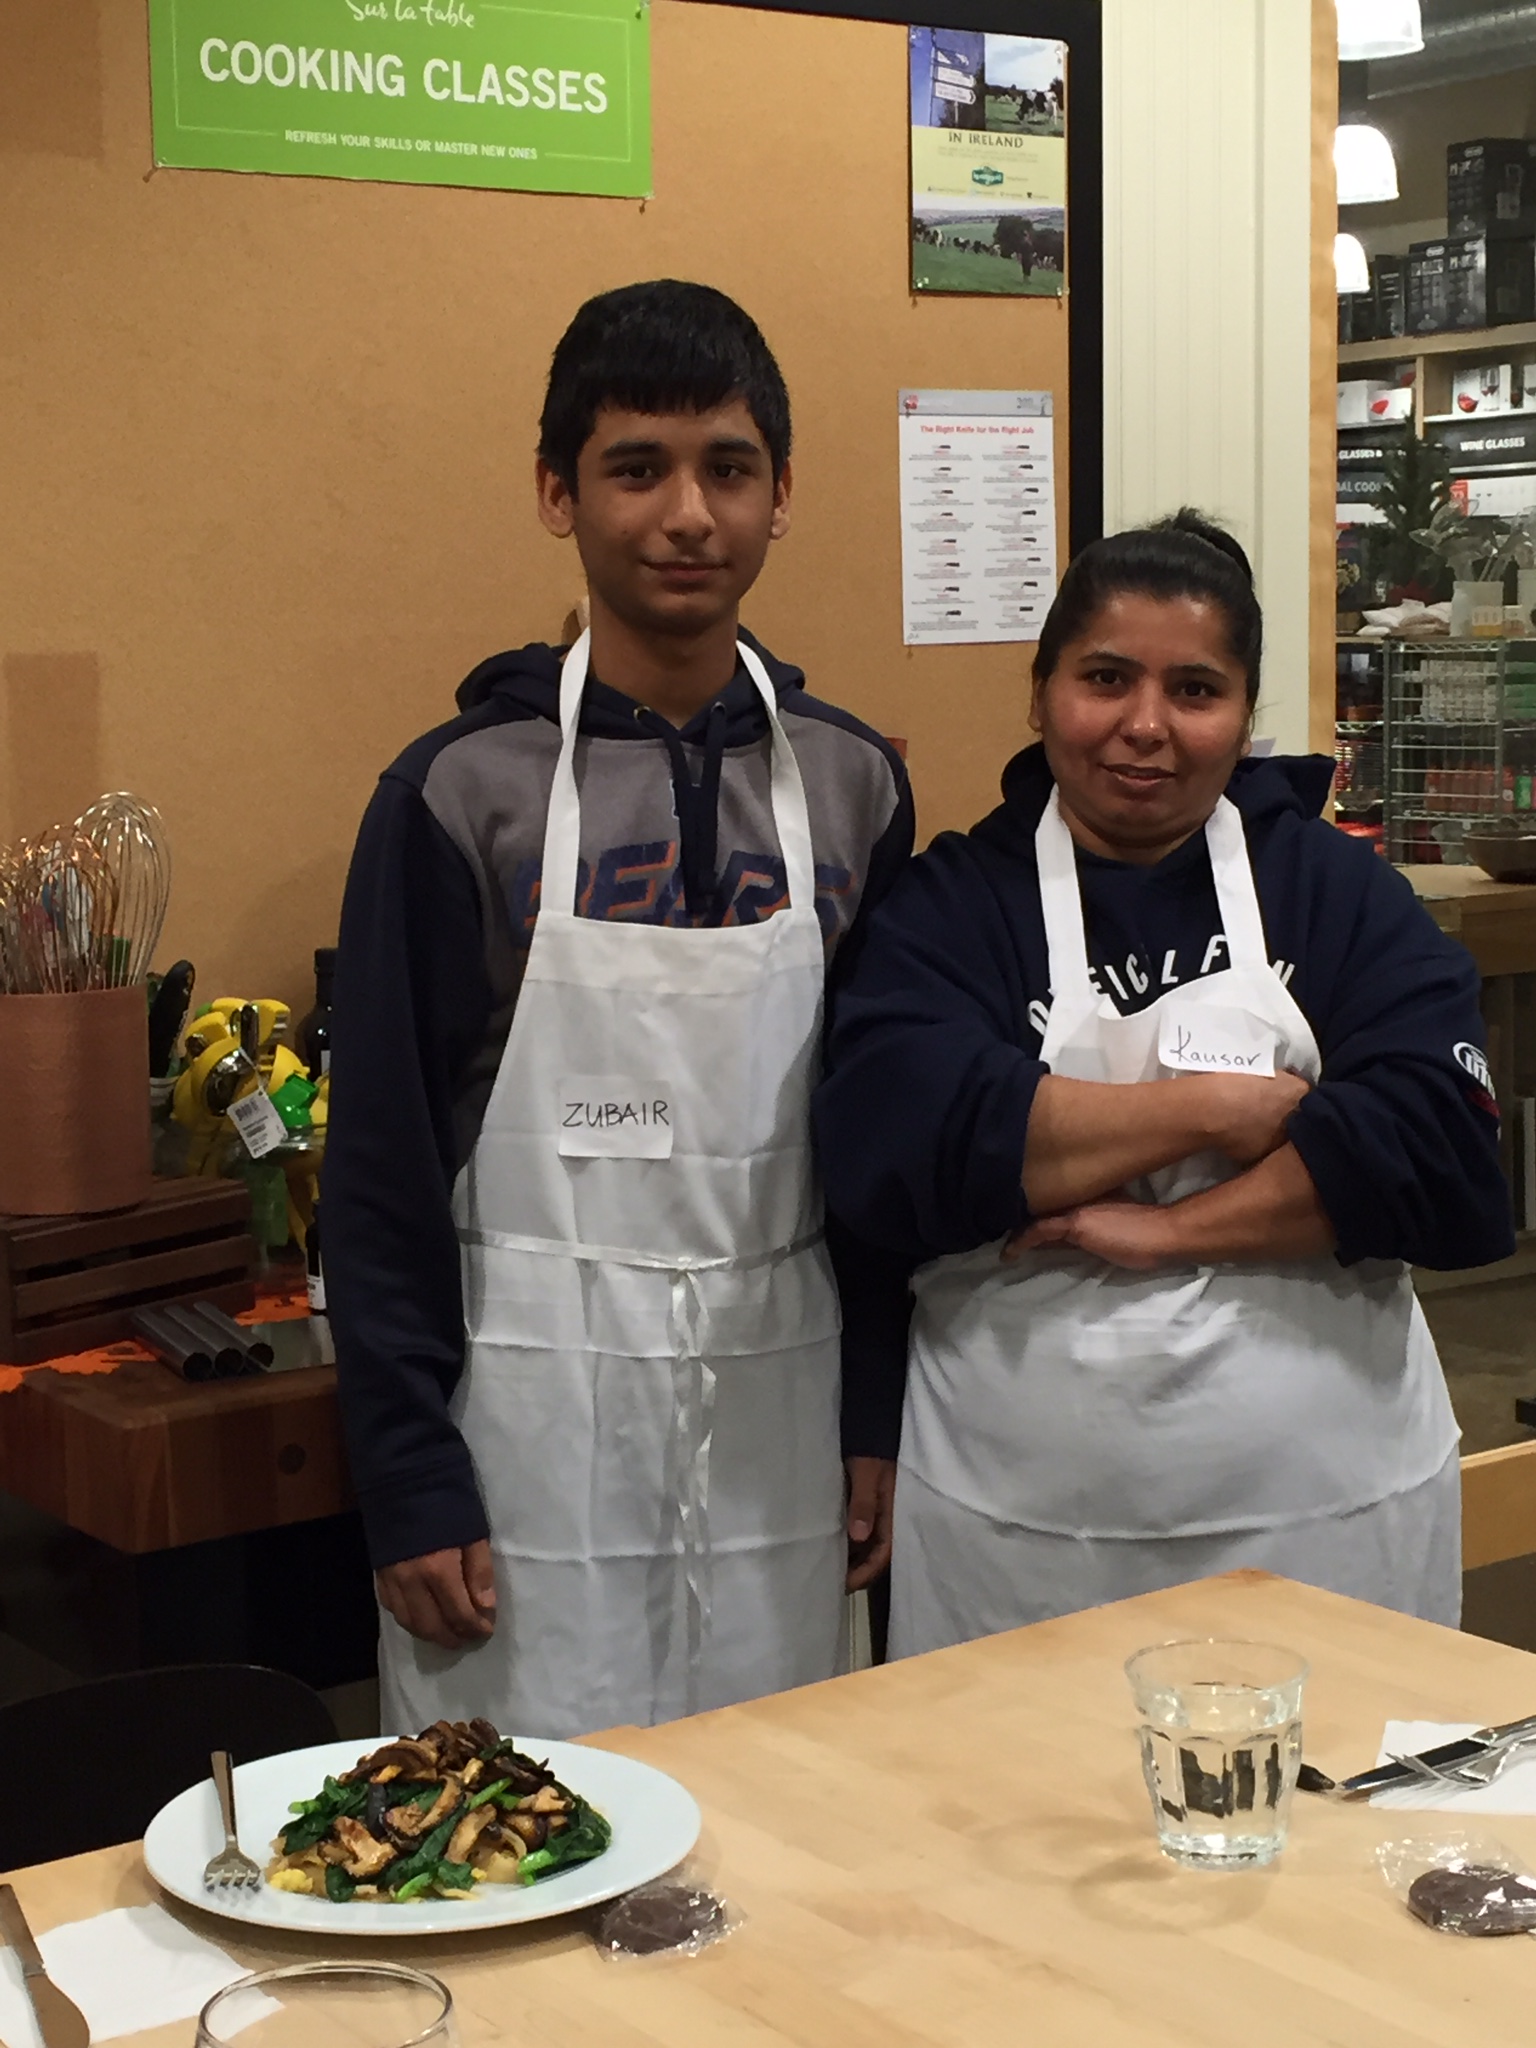
Also, for a promotion Sur la table was doing on the chocolate caramel filled cookies they sell in stores, all class attendees for the day got one free caramel chocolate cookie. And yes that is me and my mom below in our work aprons.
Mom’s opinions:
Different from me who will probably always take Sur la able’s side, my mom had some opinions of her overall experience at Sur la table, that too her first time. Not all them were good but at least they all weren’t bad either
Pros:
Met some very nice people; made new friends
Finally learned one of her most desired cuisines, Thai
Found the food to be delicious and right on spot with the kind of flavor she was looking for
Enjoyed opportunities with cooking WOK
Amber Lancaster
Cons:
Felt the kitchen was a bit too small and crowded
Overpriced store merchandise
One of the pans we used she glimpsed at was heavily burned/worn out; she’s a bit picky plus I guess she expected perfect from their cookware since she’s use to me always raving about it at home
Though their might have been cons, my mom agreed she was glad to come and that she felt she learned many new things about Thai she did not learn before and plans on duplicating the recipes made in class at home. Meanwhile, I will be looking out for more opportunities to get her back in that kitchen with that apron on. I really felt it was also a bonding experience since we worked alongside and discussed a lot about the recipes during class.
Great class, Great food, Great chef instructor as usual. Thumbs up! Thanks for viewing this post I hope to be back at Sur la table for another cooking class soon and I am sure I will blog about it. Meanwhile, I will be posting a post with a video of a review and unboxing video of my kitchenaid professional 5 plus mixer I recently purchased so… keep your eyes out for that post in 2-3 days!